How to Create and Configure Notification Rules in eAgenda
Notification Rules in eAgenda allow you to configure and automate sending messages to clients and users related to appointments. With this feature, all parties involved are notified about appointments, changes, or cancellations, ensuring efficient communication.
Accessing the Settings
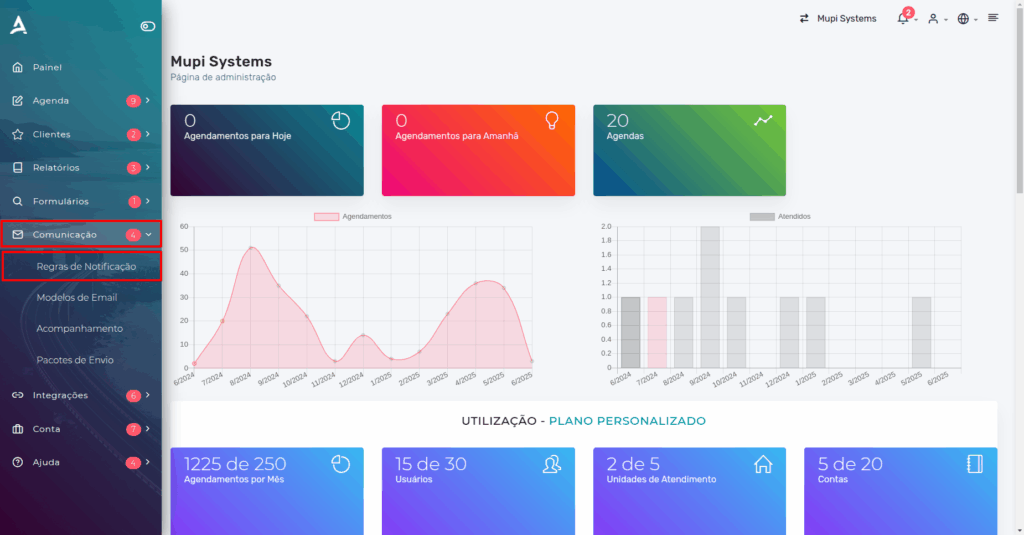
- On the dashboard, click Communication → Notification Rules;
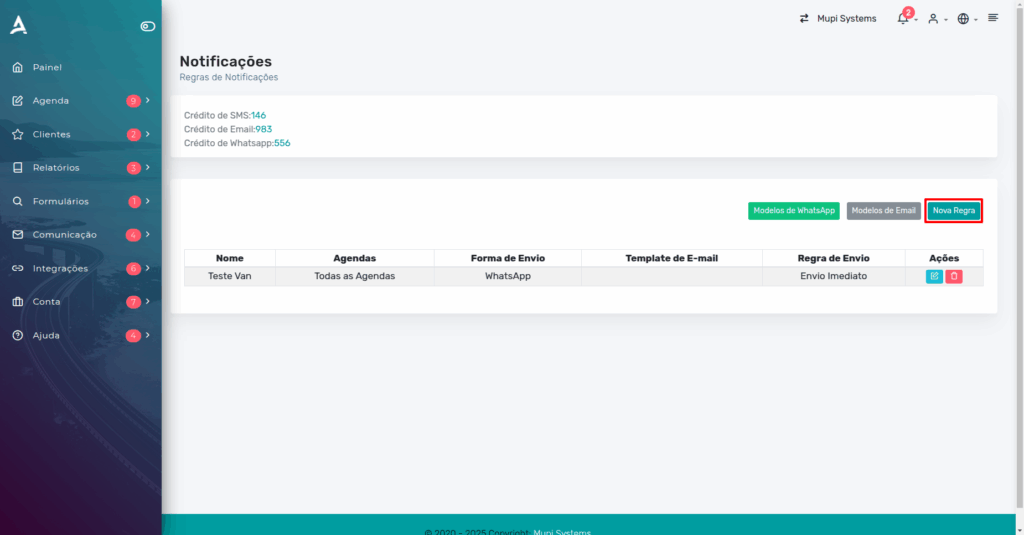
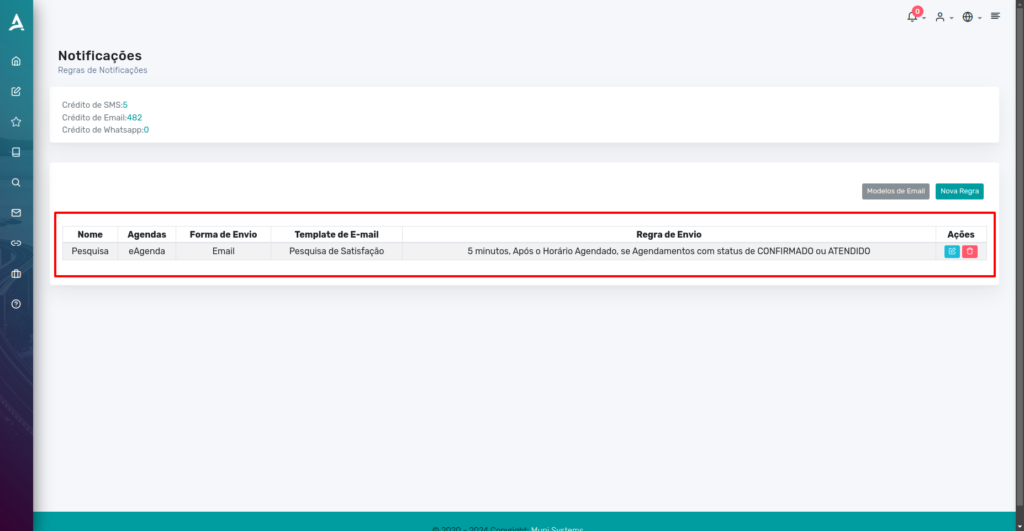
On the next page, you can view your configured notification rules and information such as the available credit balance for sending. Notification credits have a per-send cost and are independent of the plan, needing to be purchased separately in packages. Notifications can be sent via SMS, email, and WhatsApp, ensuring that clients and users are informed about appointments, changes, or cancellations.
Creating Notification Rules
2. To create a new rule, click New Rule.
Next, fill in the fields below to configure your notification rule:
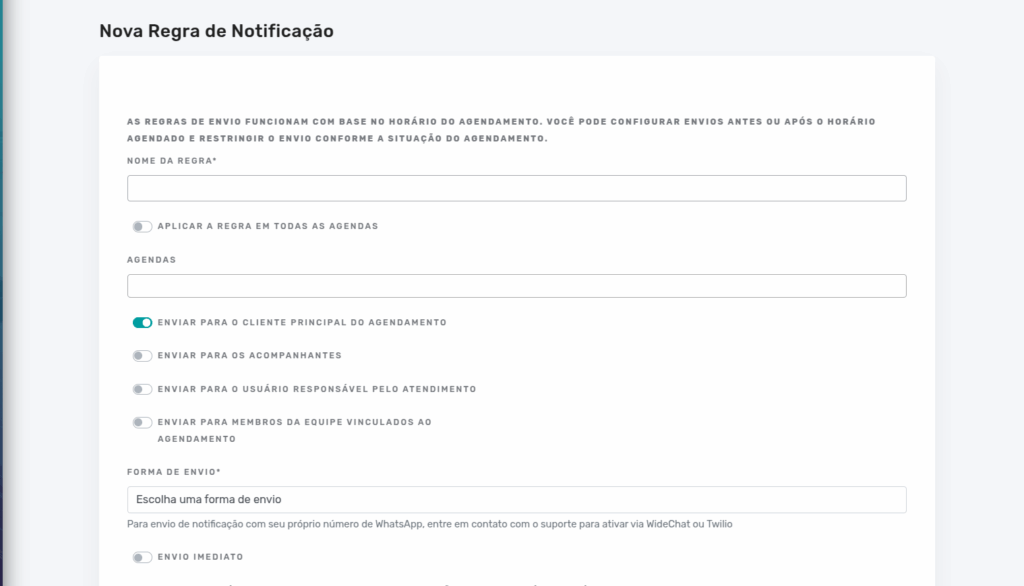
Set the rule name and select the calendars to which it will be linked. Then, determine who will receive the notification. Keep in mind that for each person who receives the notification, 1 sending credit will be consumed.
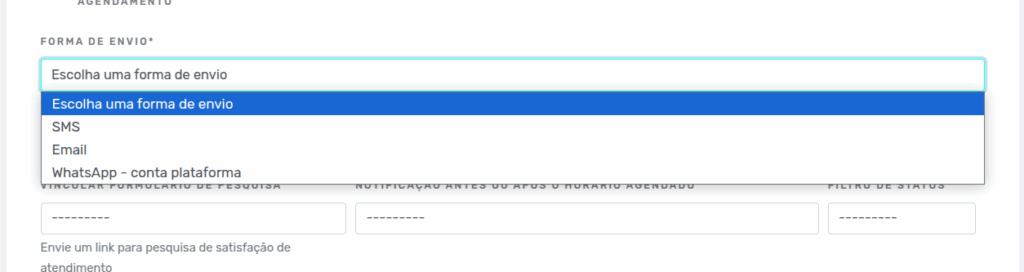
Set the notification delivery method, choosing between WhatsApp, email, or SMS.
- If you choose to send via email, you can create a custom template on the previous screen to be used in the notification.
- If the notification includes a satisfaction survey, you can link a survey form to be sent to the recipients.
Finally, set the sending parameters, determining when the notification should be sent. You can choose:
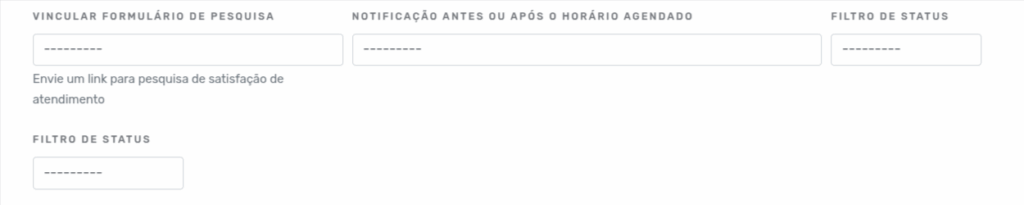
- Before the scheduled time, to serve as a reminder for the client, informing them about the appointment in advance.
- After the scheduled time, to send a notification, such as a satisfaction survey, after the session.
The status filter is optional and allows you to define who the notification will be sent to. You can choose to send the notification in different cases.
Each status filter has its own specifics; one of them, for example, is designed for managing appointments that are awaiting confirmation or have already been confirmed.
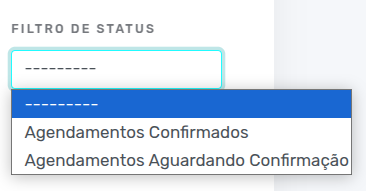
The other filter is intended to classify sessions based on whether they were completed or not.
Finally, set how many days, hours, or minutes before or after the session the notification should be sent, and then click Save to finish creating the notification rule.

Conclusion
Once finished, you can review the details of your rule. You can create multiple rules and customize the delivery methods for different calendars. Make sure that before using the rule, you have purchased a notification package, as each send will consume credits according to the chosen method.
In summary, in this tutorial you learned how to create notification rules. You can now conduct satisfaction surveys and handle other matters with your clients in a practical and efficient way. Take the opportunity to visit our Blog to answer your questions, or check it out on YouTube.
Mupi Systems offers a range of technology solutions for all types of businesses. Discover our platforms that bring innovation to the market.
Get in Touch or Learn More
WhatsApp: [Click here to send us a message] eAgenda Platform: [Discover the tool] Our Company: [Mupi Systems – Innovative Solutions] Email: [contato@mupisystems.com.br] Tutorials and Documentation: [Access our guides and tutorials]