How to Create New Users for Your Team
In eAgenda, you can configure different types of viewing profiles for users. Each profile has distinct permissions for accessing and modifying schedules, allowing you to control who can perform certain actions in the system.
Step by Step: Creating a New Team User
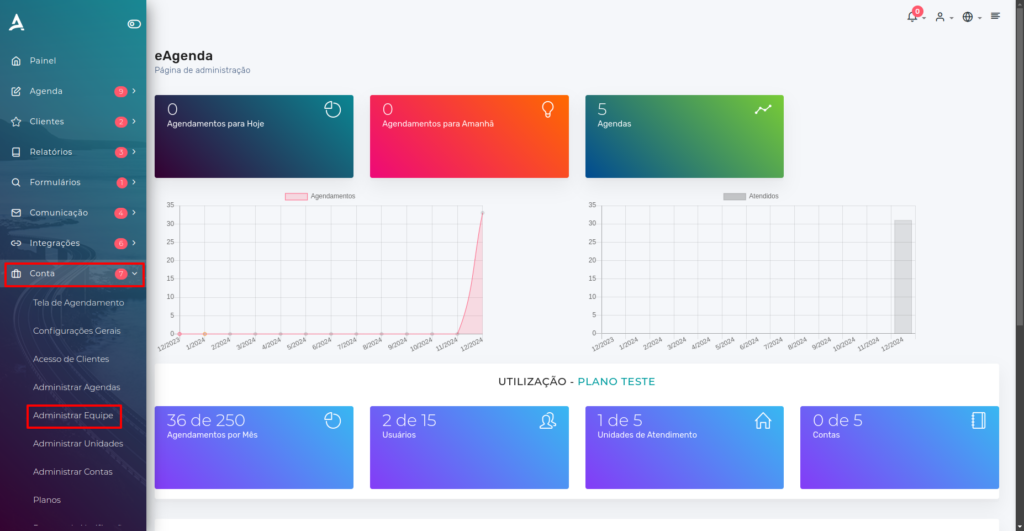
- Open the Side Menu and click on Account → Manage Team;
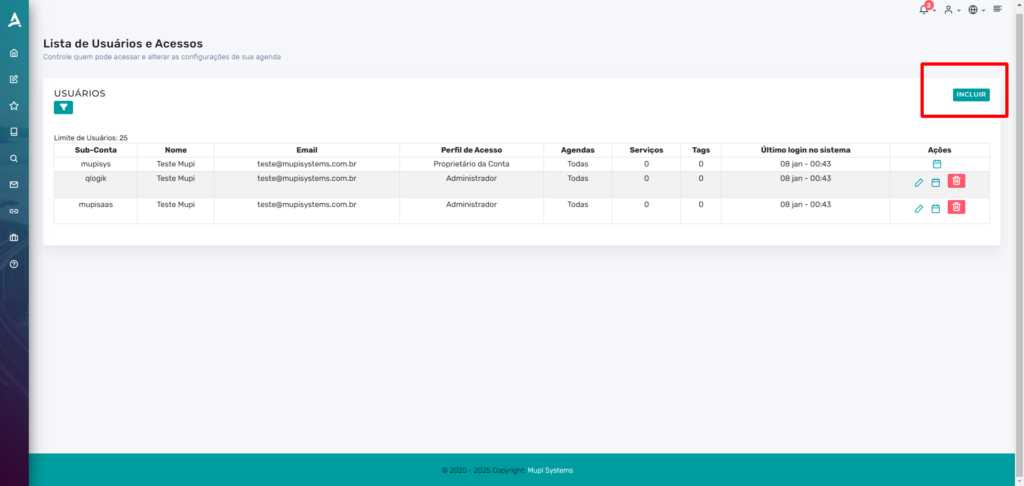
After being redirected to the User List and Access screen, you can add a new user to your team, as well as view and edit existing users, managing their permissions and access.
To add a new user, click “Add”.
After clicking Add, a form will be displayed to fill in the new user’s information.
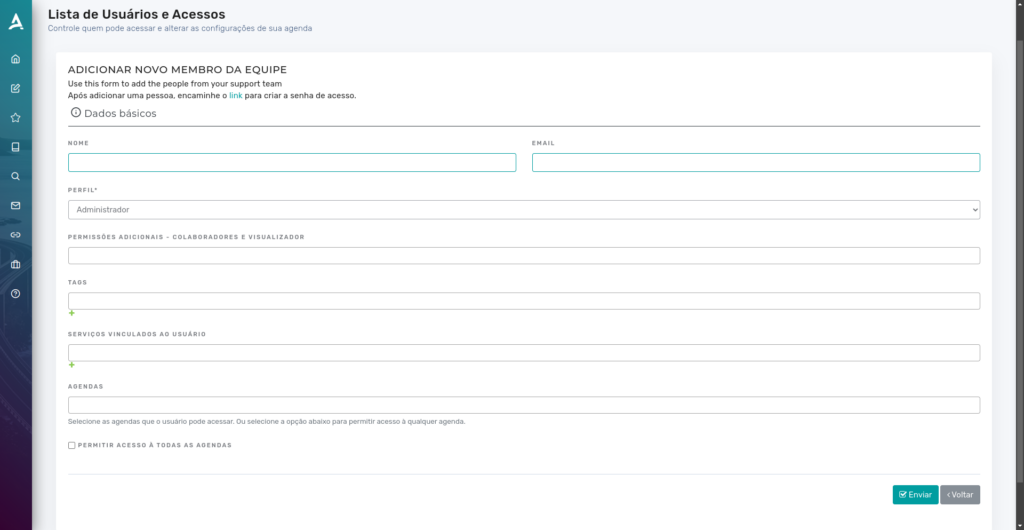
Here is the organized breakdown:
- Name: Enter the user’s full name. This field will be used to identify the collaborator, administrator, or viewer within the platform.
- Email: Add a valid email address. This will be used for the user’s login and for sending system-related notifications.
- Profile (Administrator, Collaborator, and Viewer):
- Administrator: Full access to the platform, with permission to manage settings, users, schedules, and reports.
- Collaborator: Permission to make appointments, manage services, and access specific assigned areas.
- Viewer: Can only view information, without permission to edit or create appointments.
- Collaborator/Viewer Permissions: Specify the actions that the collaborator or viewer can perform within the platform.
- Tags: Add keywords related to the user, such as “Finance”, “Support”, or “Reception”, to facilitate categorization and identification in filters and reports.
- Services Linked to the User: Choose which services the user can perform or manage. For example, if they are responsible for “Medical Consultations” or “Yoga Classes”.
- Schedules: Define which schedules the user can access or manage. For example, link the schedule “Office 1” or “Meeting Room”.
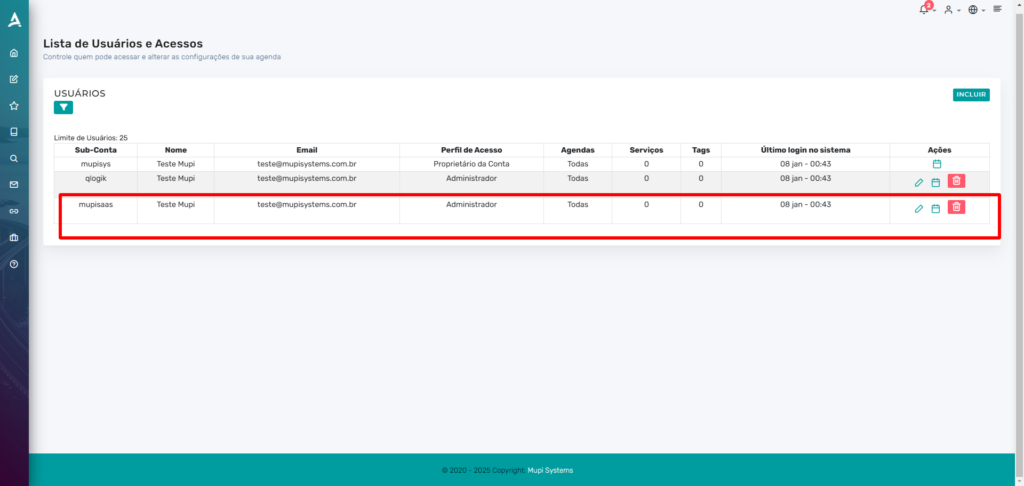
After clicking “Submit”, an email will be automatically sent to the new user, containing a link for them to create their access password. If needed, the user can also request password recovery directly on the platform.
Conclusion
In summary, in this tutorial you learned how to create users in eAgenda. Take the opportunity to visit our Blog and clear up other questions, or access our YouTube channel.
Mupi Systems offers a range of technological solutions for all types of businesses. Discover our platforms that bring innovation to the market.