How to Block Multiple Time Slots at Once in eAgenda
In this tutorial, we will guide you step by step through blocking multiple time slots at once on the eAgenda platform.
This tool is useful when a commitment arises and you need to block time slots. For example: a meeting or an appointment with multiple services.
Step by step to block time slots
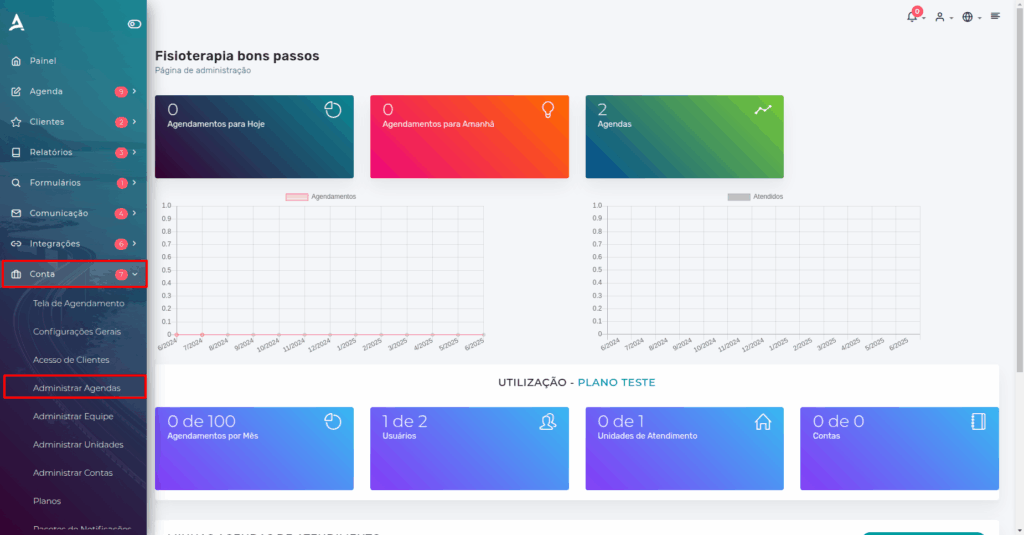
1**.** Open the Side Menu and click on Account → Manage Schedules;
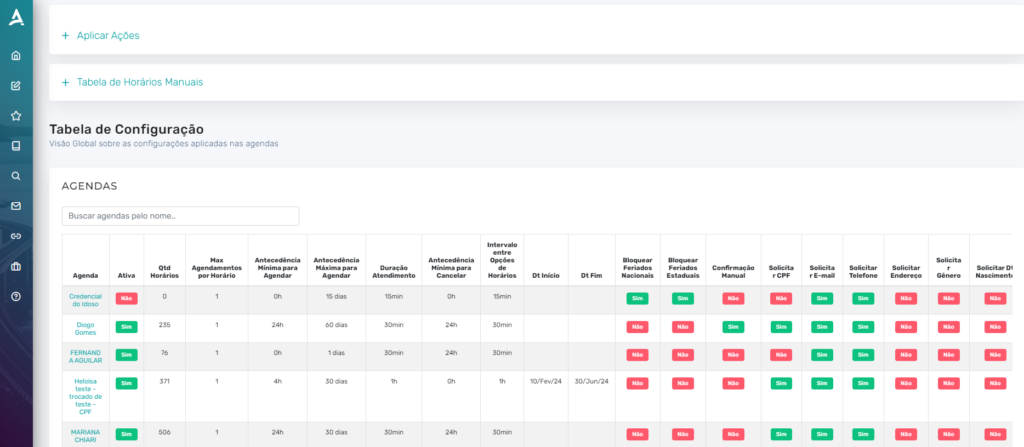
2. You will be redirected to the Configuration Table screen. On this screen, you can access the settings applied to the schedules.
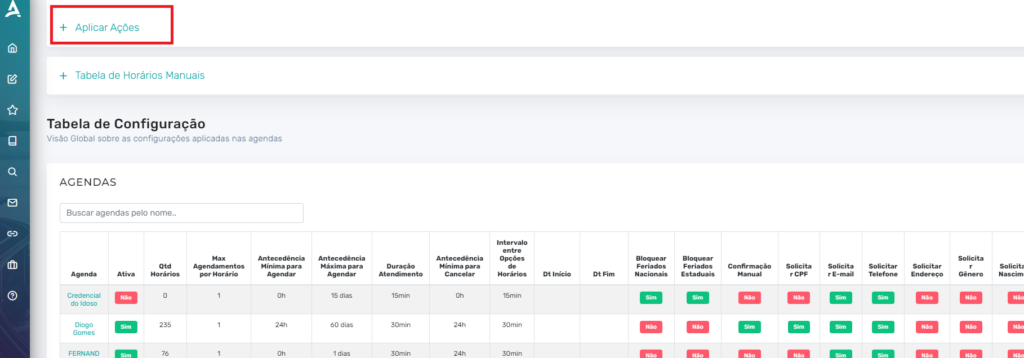
3. Click on Apply Actions. The page will show the options to Apply Actions to Schedules.
4. Click on Action → Block Time Slots for One or Multiple Days. At this point, more options will appear.

5. Select the Schedule (if you want all schedules, click the [] SELECT ALL SCHEDULES icon) → Start Date → End Date. Click Apply to save.
When blocking a time slot, you can add a reason for the block, which will be displayed directly in your schedule, keeping the reason recorded in the system.

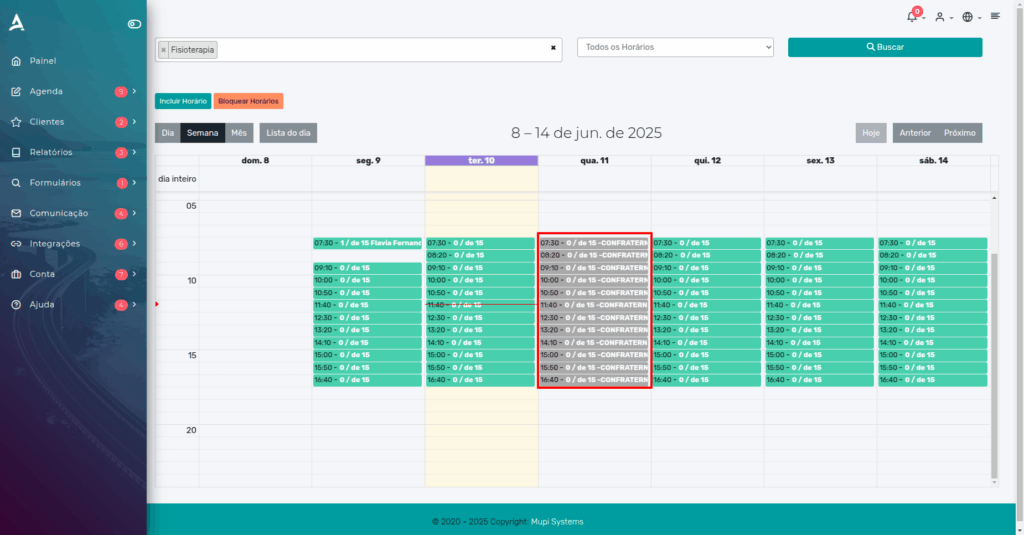 Scheduling screen with blocked time slots.
NOTE: The END DATE, START TIME, END TIME options are OPTIONAL.
Take the opportunity to visit our Blog and clear up your questions.
Mupi Systems offers a range of technological solutions for all types of businesses. Discover our platforms that bring innovation to the market.
Tutorials and Documentation: Access our guides and tutorials
Get in Touch or Learn More. We are happy to help! Access our official channels:
WhatsApp: Click here to send us a message
eAgenda Platform: Discover eAgenda
Our Company: Mupi Systems – Innovative Solutions
Email: contato@mupisystems.com.br
Tutorials and Documentation: Access our guides and tutorials