How to Customize Notification Rules
To provide even more autonomy for calendar administrators and improve the usability of the platforms, you can customize the sending of notifications, choosing when and how they will be sent — whether by SMS or email — according to the needs of your service.
In this post, we will explain in detail how to configure this feature and also present some practical usage examples. To make it easier to understand, we divided the content into three topics:
- Credit Purchase
- SMS notification rules
- Email notification rules
Step by Step: Credit Purchase
It is essential that you are aware of an important aspect: for notifications to be sent, whether by SMS or email, you need to have active credits on the platform.
If this is your first time using this feature, we have great news: you have an exclusive bonus to try it out! 15 free SMS and 500 free emails are automatically provided so you can test how notification sending works in practice and adjust the configuration to your needs.
To activate the promotional credit, follow this simple and quick path:
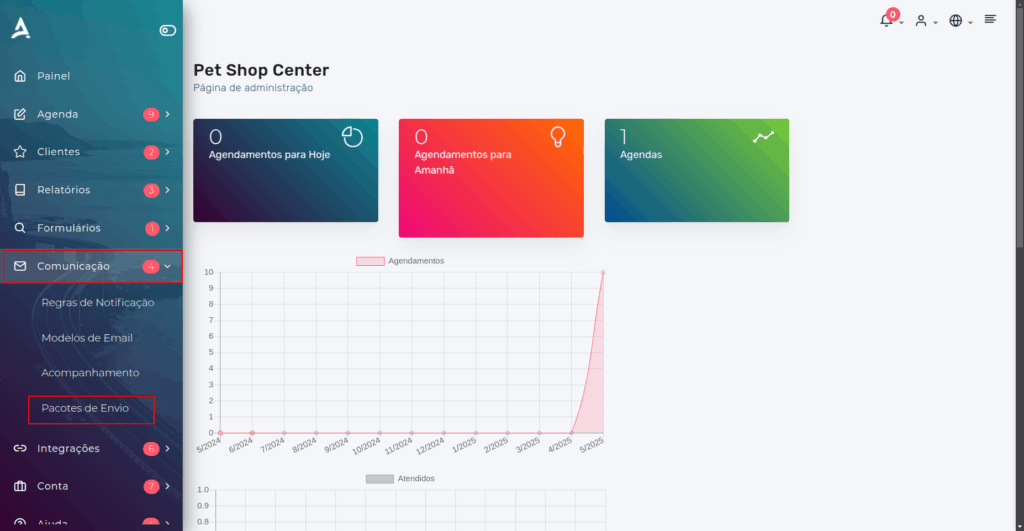
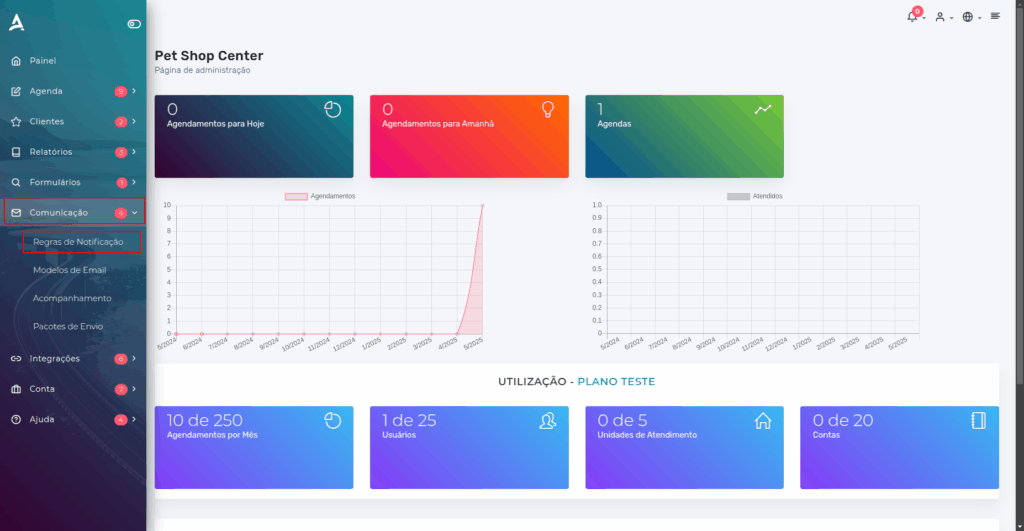
- Access the side menu on the platform dashboard.
- Click on ‘Communication’.
- Then, select ‘Sending Packages’.
Remember: keeping your sending packages up to date is essential to ensure notifications are sent correctly and that your communication with customers runs smoothly and professionally.

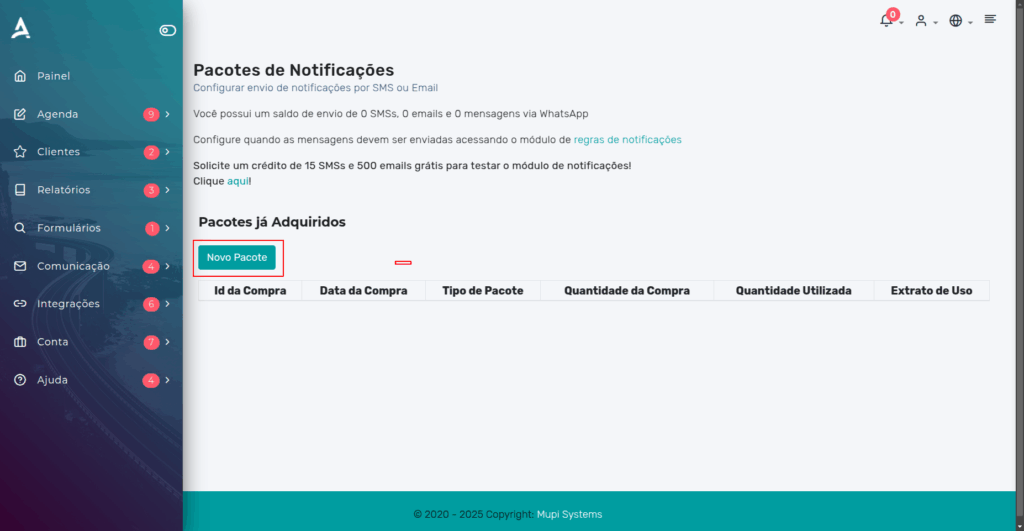
Then, on the Notification Packages page, click ‘New Package’.
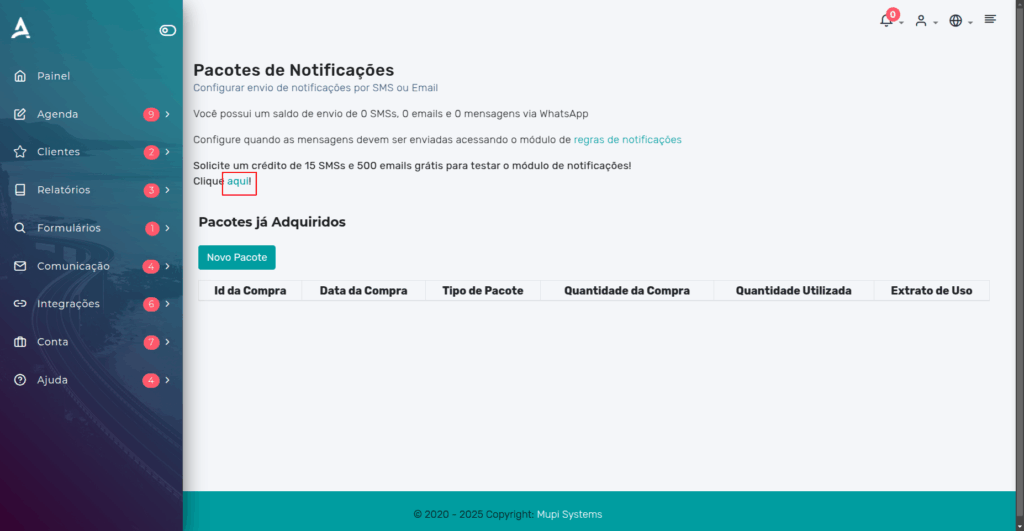
Note that this promotion activates both SMS and email credits, so you can already configure rules for both notification methods.
Later, when you need to purchase more credits, simply follow the same path. In the side menu, click Communication → Sending Packages → New Package. On this page, the packages and prices for purchasing credits will be available.
Configuring Notification Rules – SMS
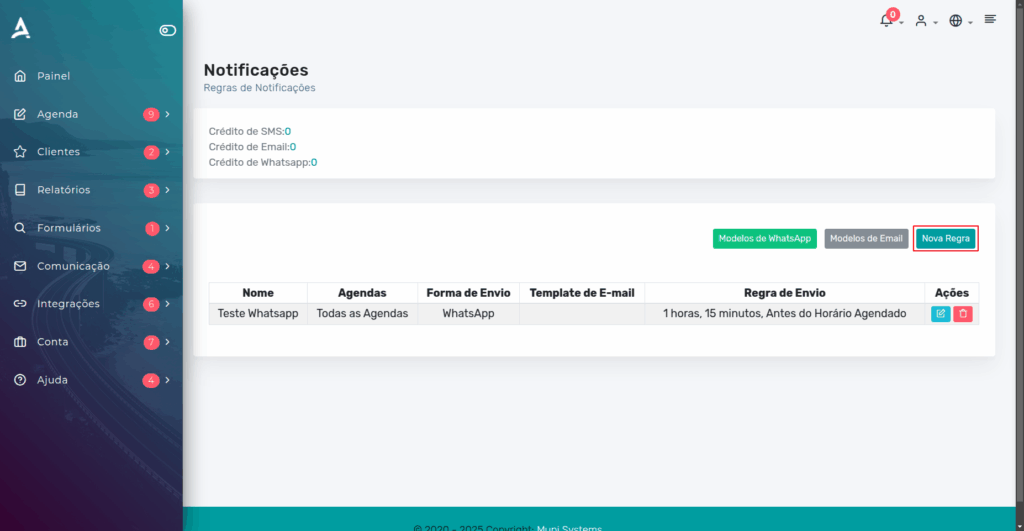
Now that you have the credits, it’s time to configure your notification rules. To do this, access the side menu on the platform dashboard again, and select Communication → Notification Rules.
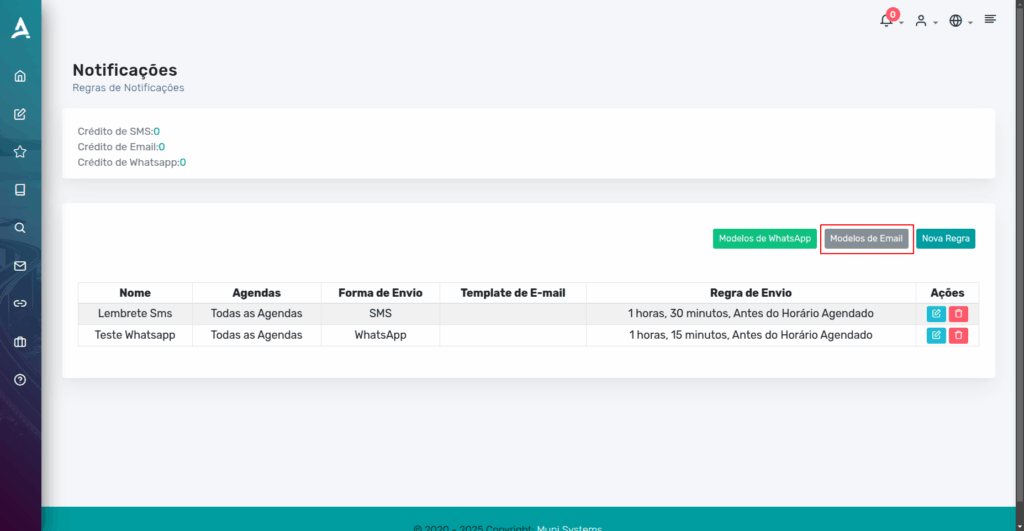
You will be redirected to the Notifications page. On this screen, click ‘New Rule’.
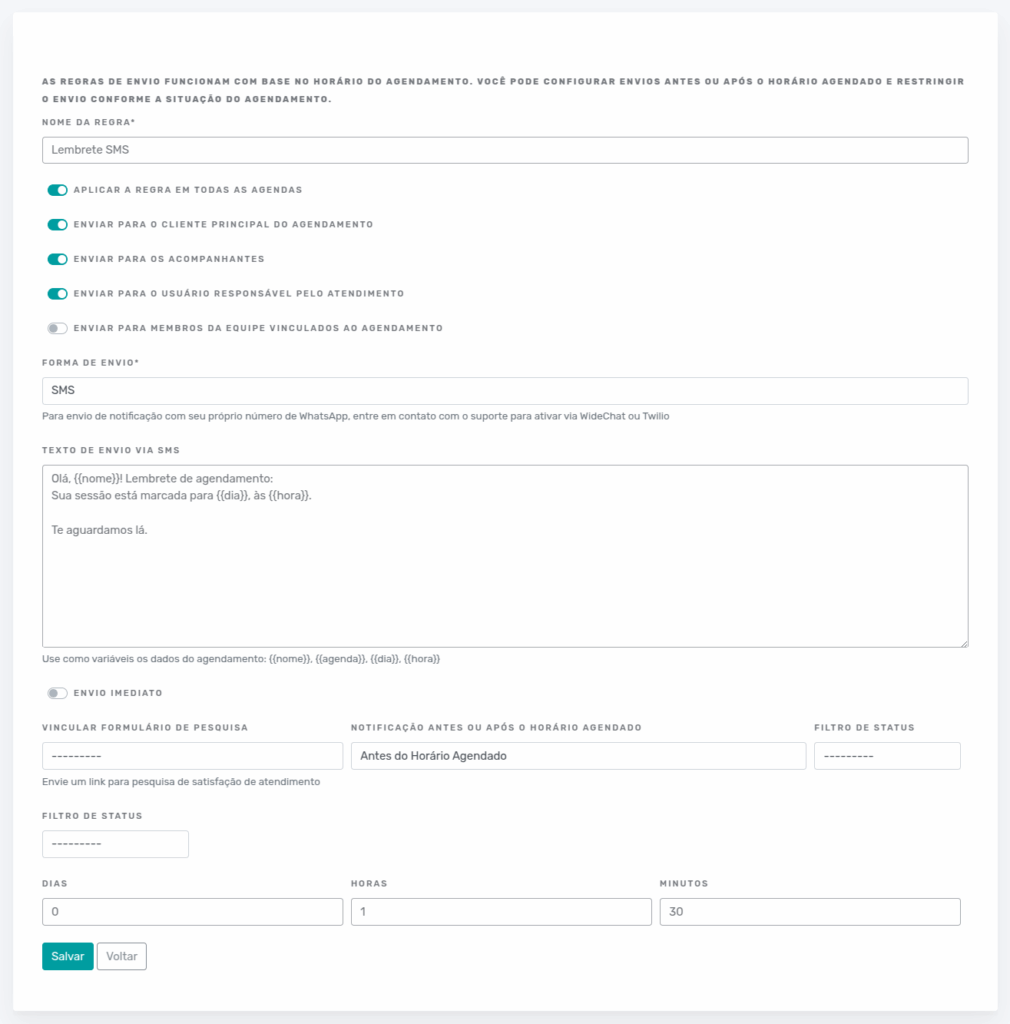
Now, simply fill in the form according to the needs of your operation.
It is worth noting that you can:
- Link the rule to all your calendars or, if you prefer, only to specific calendars, ensuring greater control and customization of sending.
- Freely edit the text that will be sent to customers, adapting the communication to the tone and the most relevant information for your service.
Finally, it is important to note that the created rule will strictly follow the sending parameters you define, working as follows:
As an example, we show below what a filled form looks like for configuring appointment confirmation notifications.
Finally, just click Save and your notification rule will be properly configured. You can create as many notification rules as you want, linking them to the desired calendars. Simply follow the same steps in this topic.
Configuring Notification Rules – Email
Access the side menu on the platform dashboard, select Communication → Notification Rules.
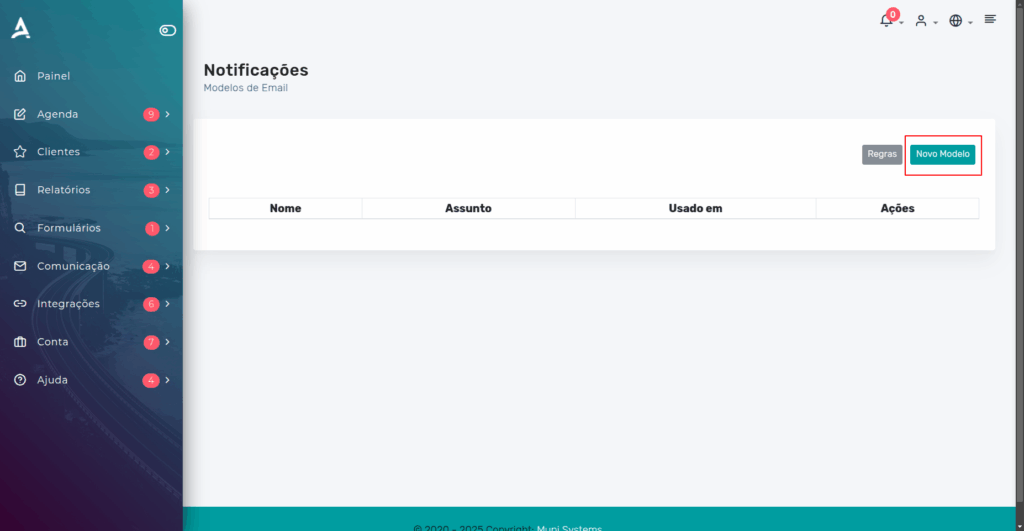
After completing the previous step, on the Notifications page, click the ‘Email Templates’ button to proceed.
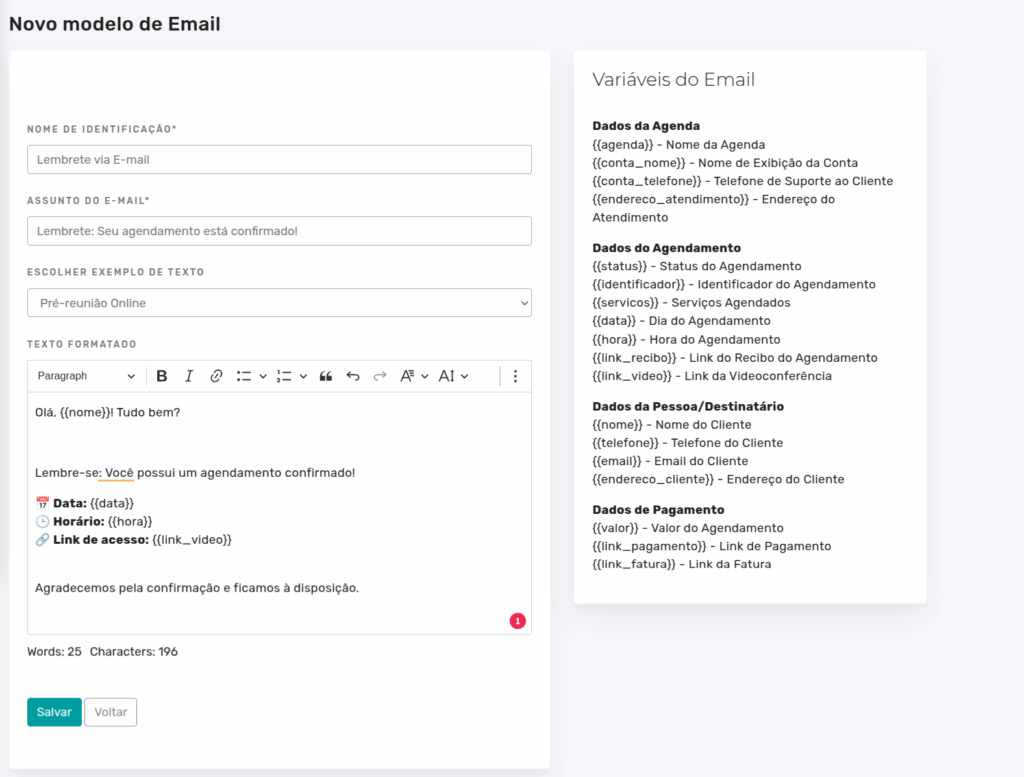
Then, click the New Template button to create a new email template.
Now, fill in the form fields according to your needs. See the example below:
Done! Now, just Save the settings.
After creating the email template, configure the Notification Rule by clicking on ‘Rules’.
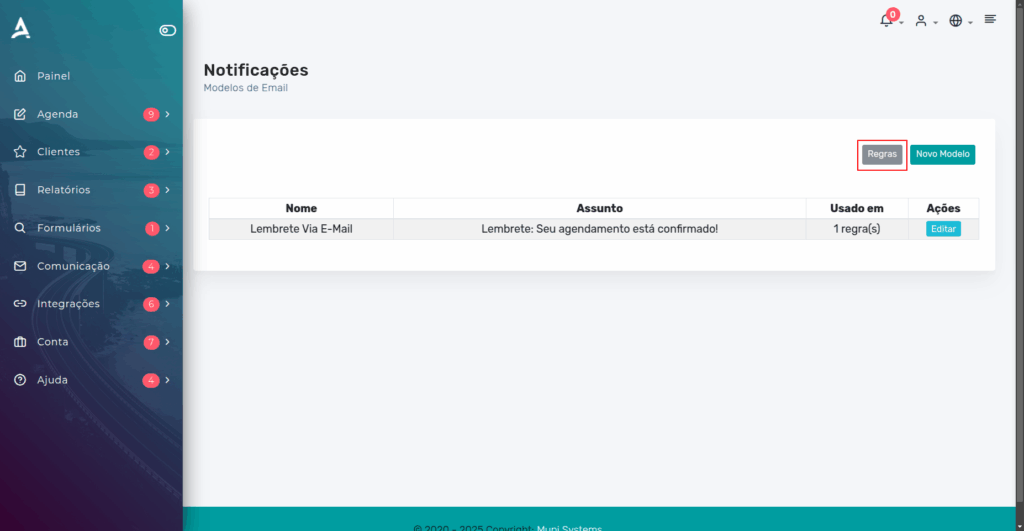
Then, click ‘New Rule’ to proceed with the configuration.

Configure the New Notification Rule form according to your needs. See the example below:

After filling in the fields, just Save.
IMPORTANT: For the rules to work correctly, it is necessary to request the sending methods, in this case being the Phone Number for SMS and Email for email sending.
Conclusion
In this content, you learned how to configure Notification Rules on the eAgenda and Minha Agenda Virtual platforms. This feature allows you to customize the automatic sending of reminders and communications to customers, defining when and how notifications will be sent, whether by SMS or email. As we could see, the process involves purchasing credits, creating specific rules, and customizing messages according to your service needs.
We hope this post has been helpful and we are available to answer any questions!
Take the opportunity to visit our Blog and get more answers, or access our YouTube channel, where you will find various tips and tutorials about our tools.
Mupi Systems offers various technology solutions for all types of businesses. Explore our platforms that bring innovation to the market.