How to Subscribe and Edit Your Plan on eAgenda
On eAgenda, you can subscribe to or manage your subscription directly through the platform, in a practical, intuitive, and fast way. The entire process was designed to offer more autonomy to the user, without the need for intermediaries or complex procedures.
This feature was developed to optimize your experience and streamline every step of the initial setup, from choosing a plan to customizing features. With this, you gain more control over your account and can start using all the system’s tools with speed, security, and efficiency.
Step by Step: How to Subscribe to eAgenda
In the side menu, locate and click on the Account option, then click on Plans.
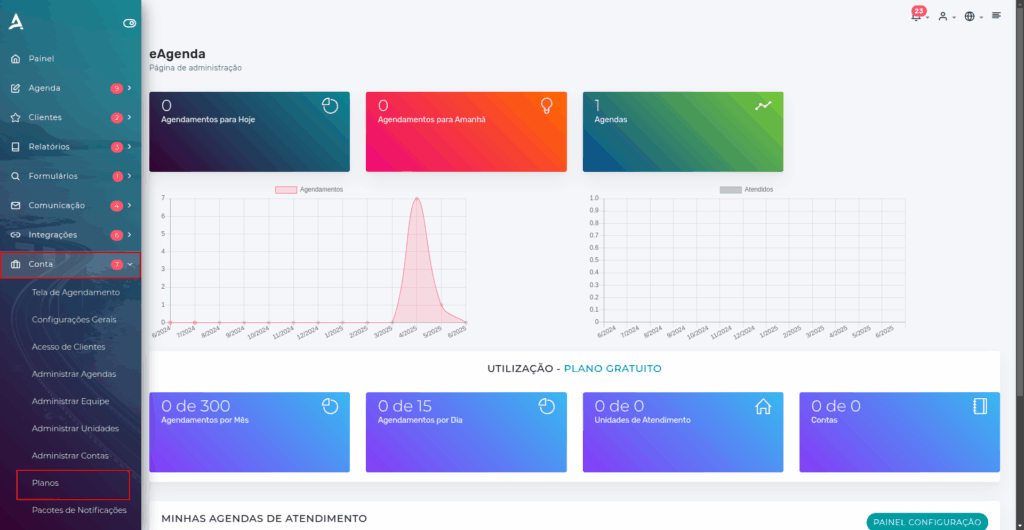
After completing the previous step, you will be redirected to the Your Plan page. On this screen, click Change Plan.

You will be redirected to the plan selection page, where you can choose the option that best suits your needs.
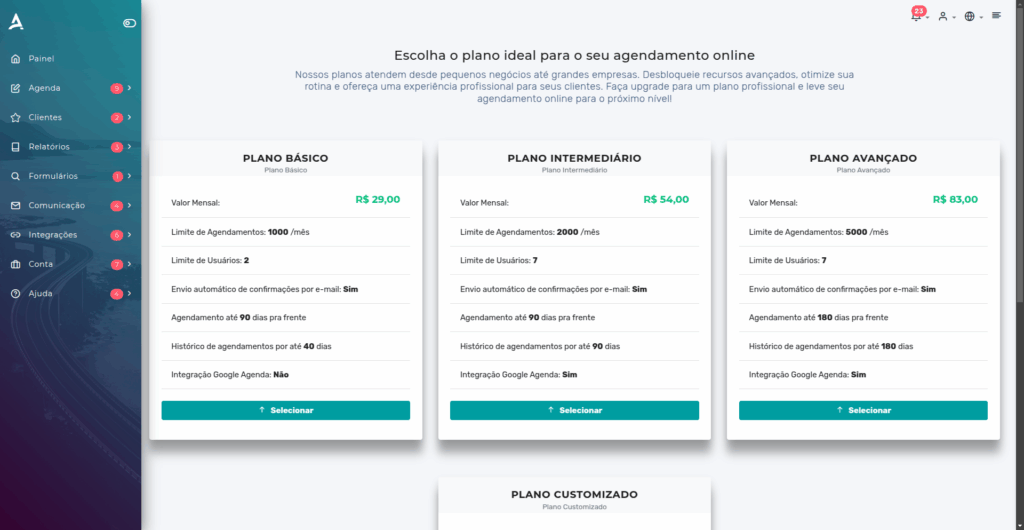
After selecting the desired plan, you will have the option to customize it according to your business needs, adjusting features and functionalities as you prefer.
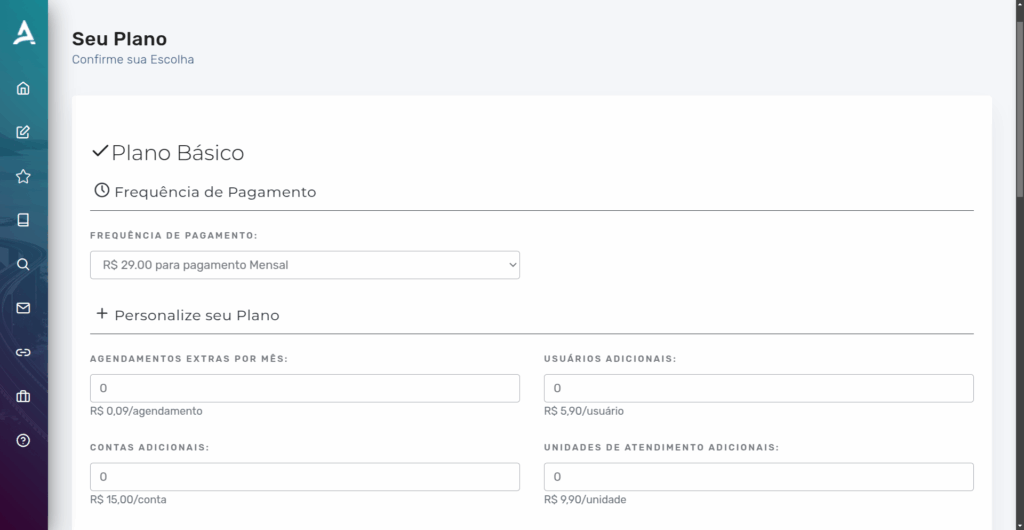
Payment Frequency
At this stage, you must select the payment frequency. The available options will be presented for you to choose the one that best fits your budget and usage routine.
- Monthly
- Quarterly
- Semi-annual
- Annual
Customize Your Plan (Optional)
At this stage, you can add extra features to your plan, in addition to those already included by default in the selected option. This flexibility allows you to further customize your subscription according to your business’s specific needs.
Extra Features (Optional)

At this stage, you can add extra features to your plan, such as:
- File upload in the scheduling form;
- Embedding the scheduling screen directly on your website;
- Integration with Google Calendar and Google Meet;
- Email notifications about new appointments, with a copy sent to up to 2 people;
- Sending emails using your commercial domain.
Subscriber Information
At this stage, you must fill in your billing information, such as company name, tax ID, address, and other information required for invoicing.
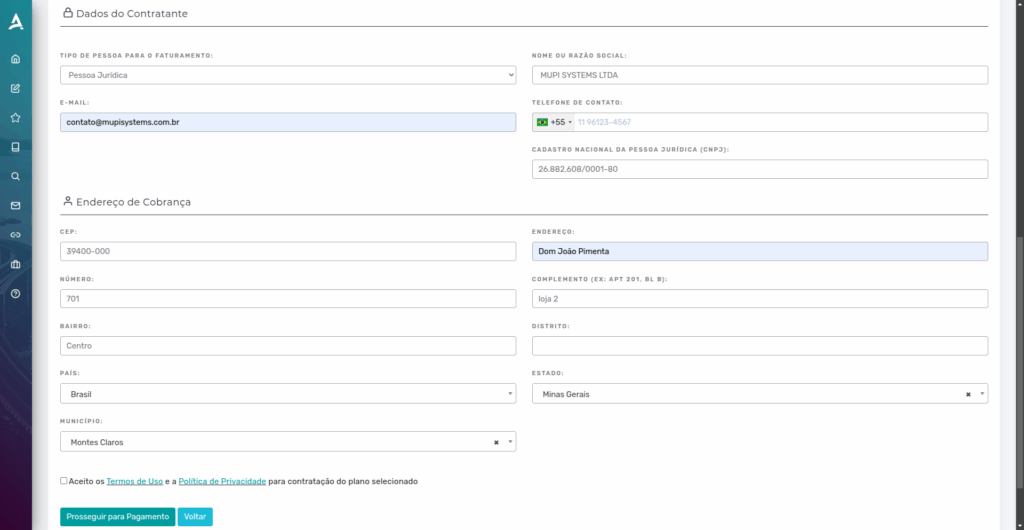
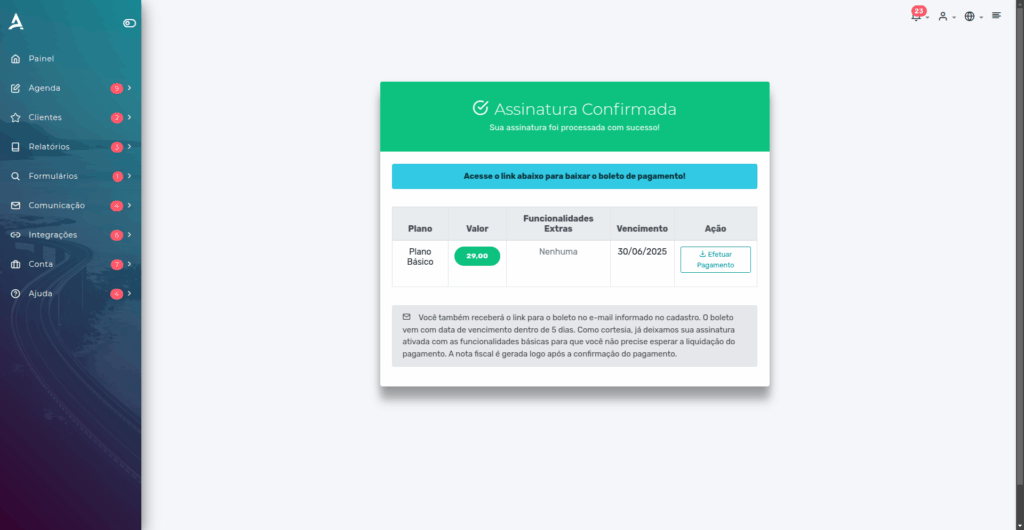
Done! Now just accept the Terms of Use and the Privacy Policy and click Proceed to Payment.
Step by Step: How to Edit My Plan
In the side menu, locate and click on the Account option, then click on Plans.

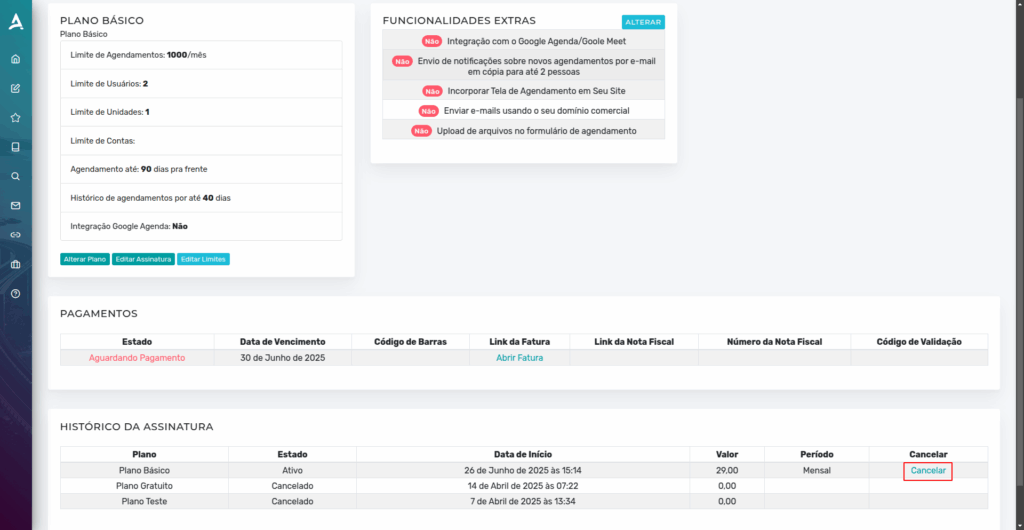
After completing the previous step, you will be redirected to the Your Plan page.
On this page, you can change your plan, edit your current subscription, adjust your account limits as needed, and, if desired, cancel your subscription.
Conclusion
In summary, in this tutorial you learned how to subscribe to and manage your subscription on eAgenda directly through the platform, in a practical, intuitive, and fully online way.
We demonstrated how to access the plans area, choose the option that best suits your needs, customize it with additional features, and set the payment frequency according to your preference. Additionally, we explained how to correctly fill in the billing information and complete the subscription process securely.
You also saw how to edit your current subscription, adjust account limits, or even cancel the plan whenever needed, ensuring full flexibility and control over your account. With these guidelines, we hope your experience with eAgenda is even more efficient and satisfying.
Mupi Systems offers a range of technological solutions for all types of businesses. Discover our platforms that bring innovation to the market.
Get in Touch or Learn More
📞 WhatsApp: [Click here to send us a message] 🌐 eAgenda Platform: [Discover the tool] 🏢 Our Company: [Mupi Systems – Innovative Solutions] 📧 Email: [contato@mupisystems.com.br] 📚 Tutorials and Documentation: [Access our guides and tutorials]