How to Set Appointment Limits per Client in eAgenda
In this tutorial, we will show you how to create scheduling limits in eAgenda, an important process to ensure control over the number of appointments made by customers. You can configure limits for each user, whether for the total number of appointments or the number of no-shows — for example, restricting to 2 appointments per week or blocking new appointments after 2 no-shows in the last 30 days.
Step by Step: How to Create Scheduling Limits
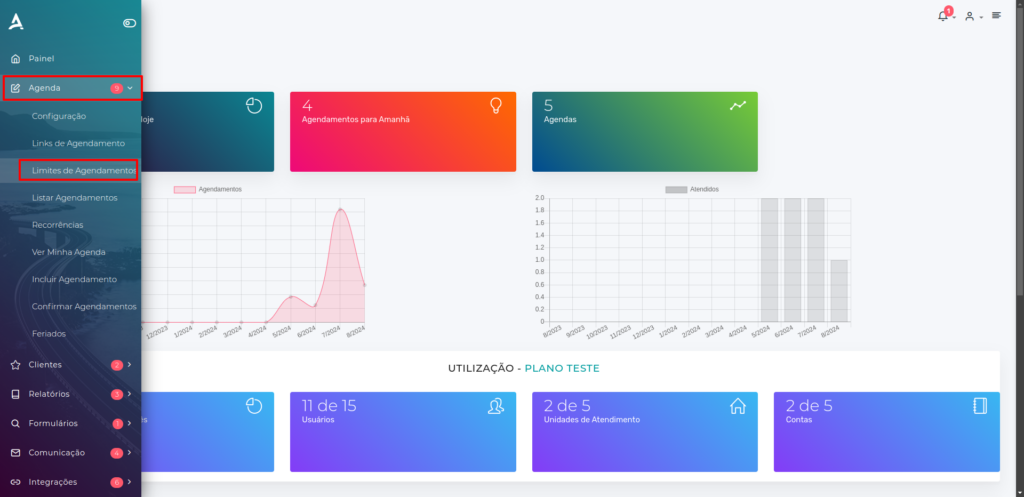
1**.** Open the Side Menu and click on Calendar → Scheduling Limits;
2. You will be redirected to the Scheduling Limits screen. On this screen, you can define and manage scheduling limits according to your needs.
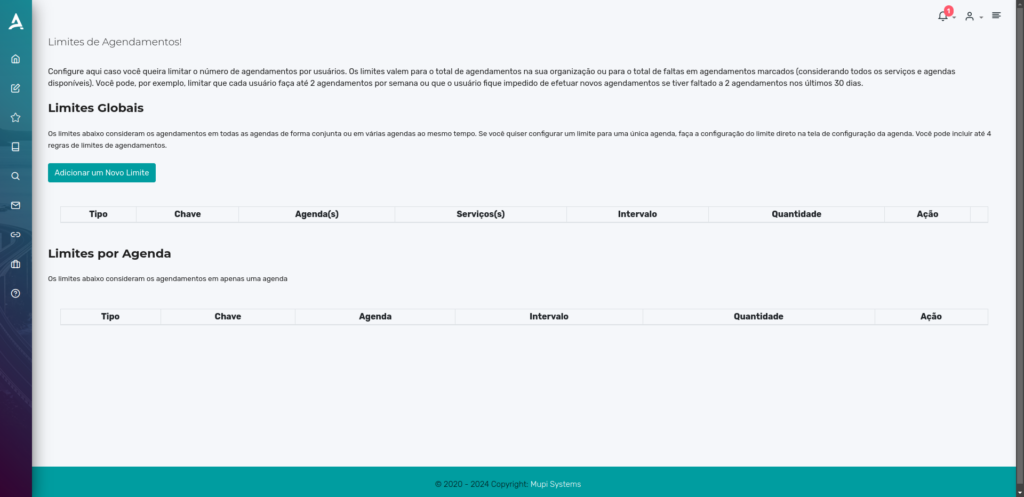
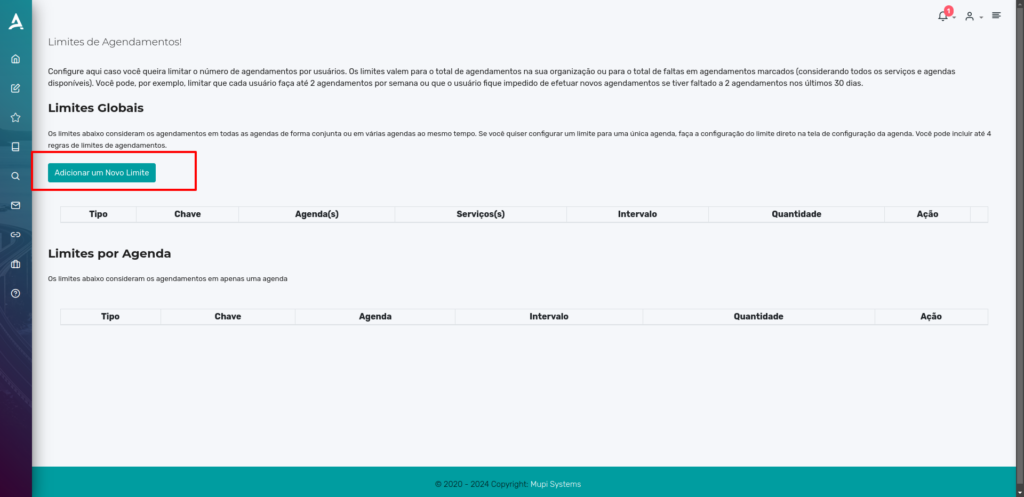
3. Click Add New Limit to create a new configuration;
4. On the next screen → Fill in the Fields;
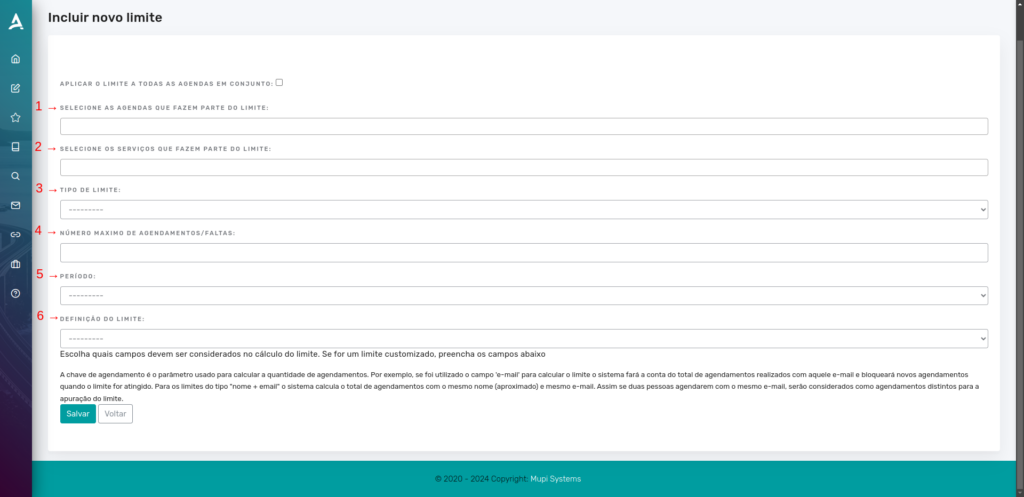
1 – In the first field, select the calendars that will be included in the limit rule. If the field is left blank, all calendars will be automatically included.
2 – If there are specific services to be limited, you can select them in the second field.
3 – In the third field, select whether the limit will be based on the number of No-Shows or the total number of Appointments already made. If the choice is no-shows, upon reaching a specific number within a defined period, the limit will be activated. Similarly, if the choice is appointments, upon reaching a defined number within the stipulated period, new appointments will be blocked.
4 – In this field, define the maximum number of No-Shows or Appointments allowed per period.
5 – Set the Period for the limit, which can be configured by days, weeks, hours, months, or consecutive days. For example, if set by week, the user can only make a specific number of appointments or have a limited number of no-shows during that week.
6 – In the last field, define how the limit will be applied, whether by the user’s ID number (CPF), phone, IP, among others. If CPF is selected, for example, an additional field will appear for entering the specific CPF numbers to be limited. If the field is left blank, the limit will apply to all CPFs according to the created rules.

It is worth noting that the scheduling key (limit definition) is the criterion used to calculate and limit the number of appointments. For example, if the email is the key, the system counts all appointments made with that email and blocks new ones when the limit is reached. For keys like “name + email”, the system considers similar combinations of name and email, treating appointments with the same email but different names as distinct.
5. Click Save after filling in the fields.

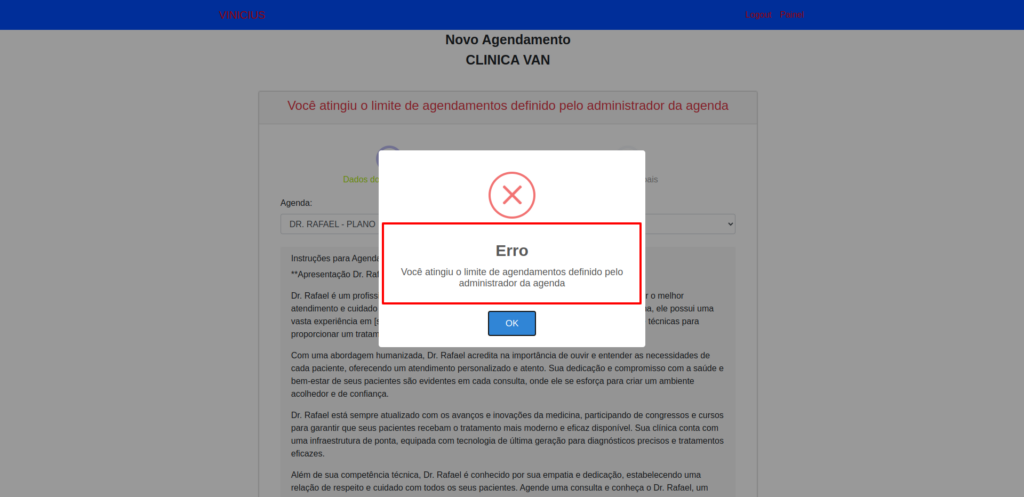
The limit will be created and, if the customer matches the defined rules, an error message will be displayed when they try to make a new appointment.
In summary, in this tutorial you learned how to create scheduling/no-show limits. Take the opportunity to explore our Blog and get answers to other questions, or visit our YouTube channel.
Mupi Systems offers various technology solutions for all types of businesses. Explore our platforms that bring innovation to the market.