How to Configure Hours for Specific Dates
eAgenda allows you to configure hours for specific dates that do not follow the regular weekly schedule. It is ideal for situations such as one-time events, special campaigns, holidays, or any other special service outside the usual routine. By using this feature, you can define exclusive hours for one or more days, without needing to set up regular dates in the schedule. This way, you can offer customized hours in a practical and organized manner, adapting the schedule as needed.
Step by Step: Occasional Hours
In the side menu, click on Agenda > Configuration.
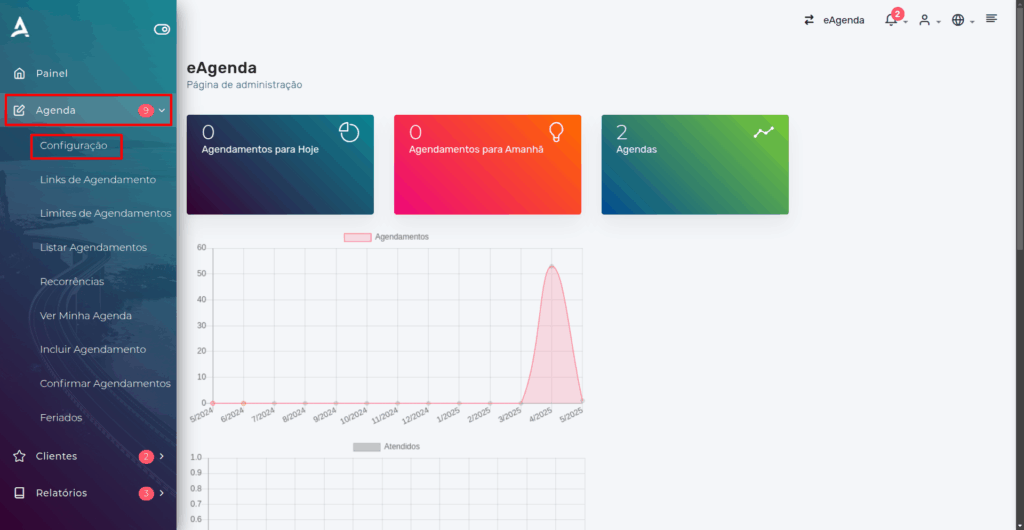
You will be redirected to the Schedule Configuration screen.
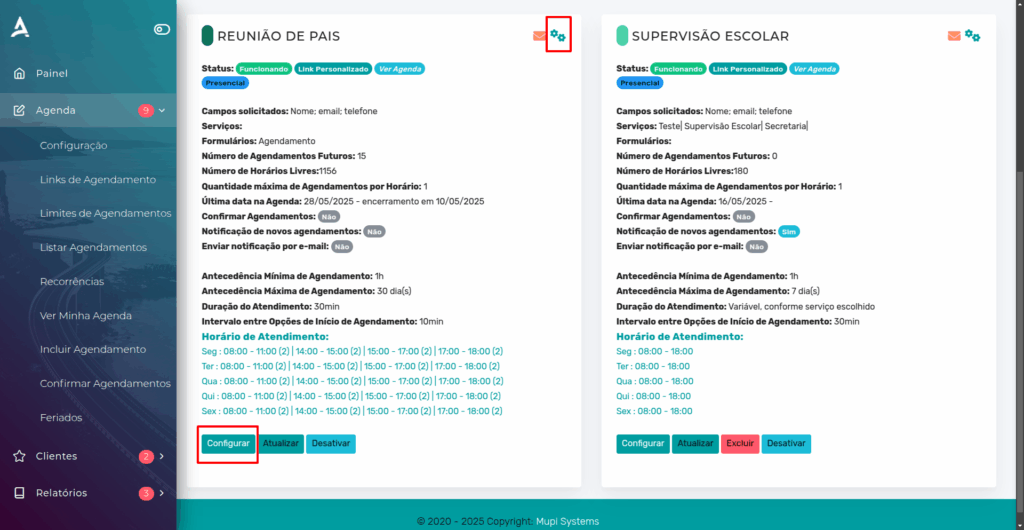
Schedule Configuration
On this screen, locate the schedule you want to adjust from the listed ones. When you find it, click the Configure button, located next to or below the schedule, to access all available customization options. From this section, you can edit service hours, define specific rules, activate additional features, and adapt the schedule according to your service or event needs.
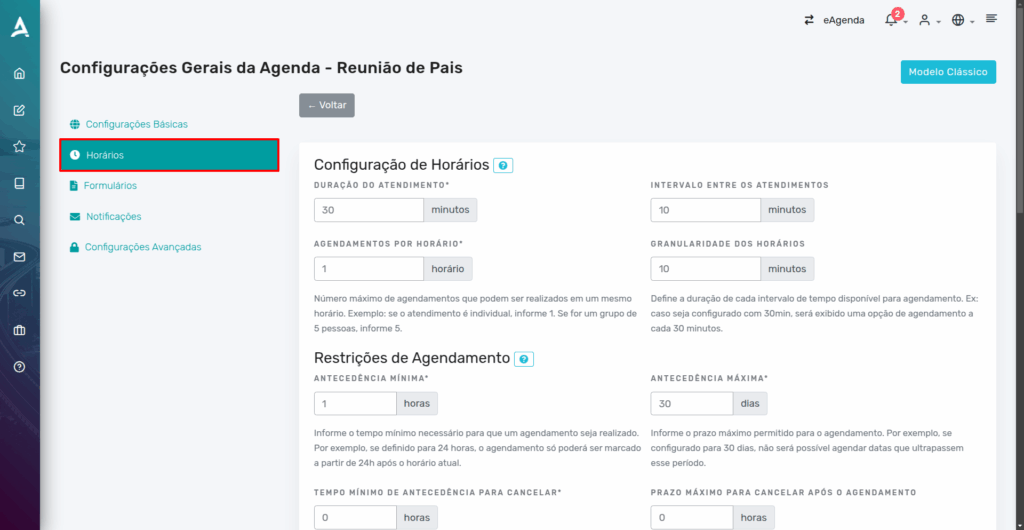
General Schedule Settings
After clicking the Configure button, you will be automatically redirected to the General Schedule Settings screen menu. This screen contains all the main settings for the selected schedule. To adjust service periods, locate specific hours, or configure custom days, navigate to the Hours tab. This is where you can add, edit, or delete operating hours, making your schedule organization more efficient and suited to your needs.
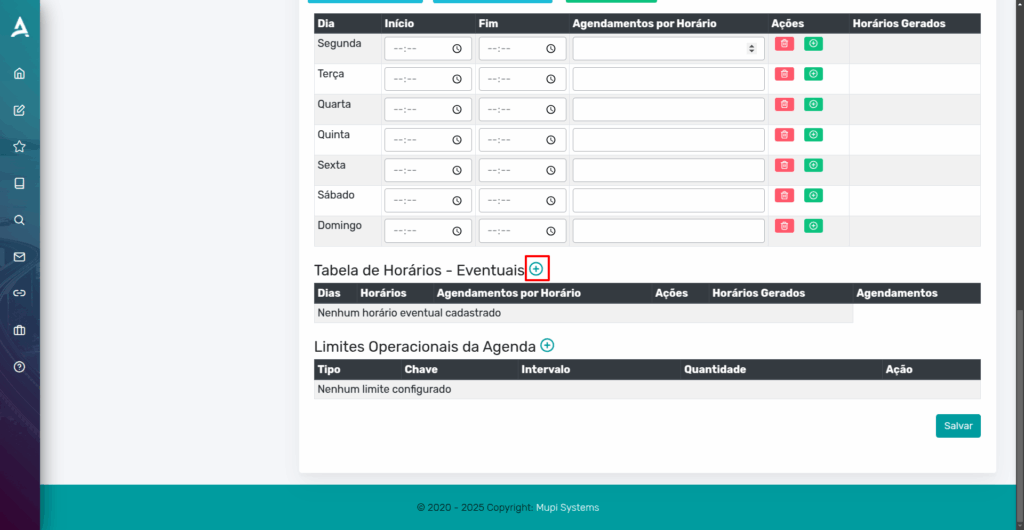
Next, continue scrolling down the page until you find the section called Schedule Table — Occasional. This area is designed for configuring specific days and times that fall outside the regular weekly pattern. Here, you can add unique dates — such as holidays, special events, campaigns, or exceptional service periods — ensuring greater flexibility in managing your schedule. This feature is ideal for adjusting the calendar to meet one-time demands without interfering with the regular programming.
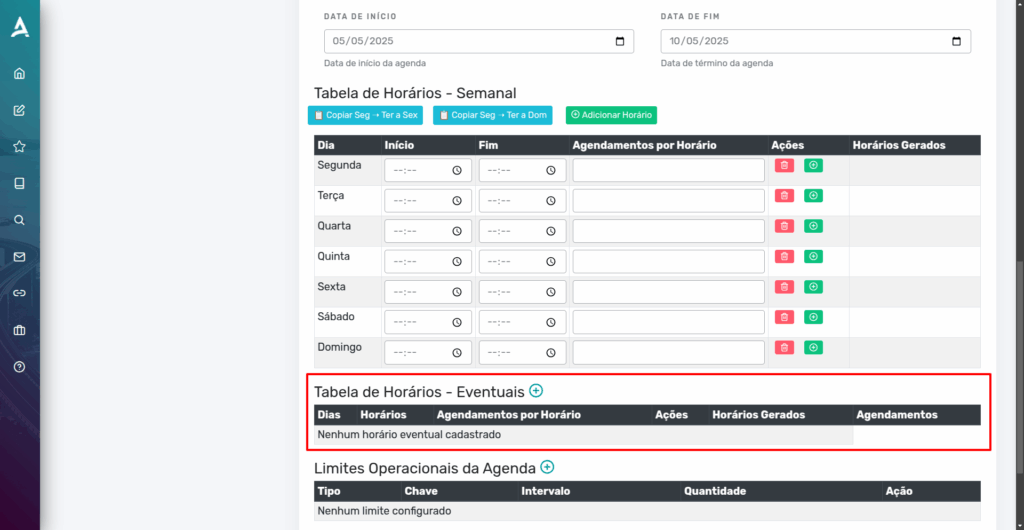
To add a new occasional time slot, locate and click the ”+” icon, usually displayed next to the Schedule Table — Occasional section. This button allows you to add a new custom configuration for a specific date, enabling the registration of one-time appointments outside the weekly pattern. When you click it, a new window will open where you can define the desired day, start time, end time, and other relevant parameters for the appointment.
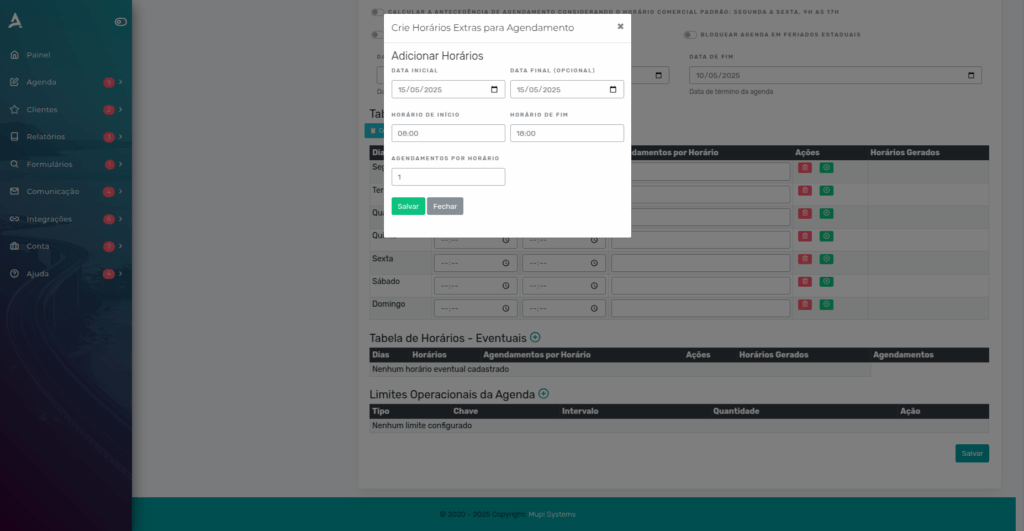
Configuring an Occasional Day
Now, fill in the fields with the necessary information according to your needs. To ensure that the hours are configured correctly, enter the day and start time, followed by the end time (optional). Depending on your preferences, you can also define other options, such as appointment duration, breaks between appointments, and the maximum number of simultaneous appointments. By filling in these fields in detail, you can adapt the schedule to your specific needs, offering more flexibility and control over the appointments.
Example
If the event starts at 8:00 AM and ends at 6:00 PM, and you want a lunch break from 12:00 PM to 1:00 PM, simply create two specific day configurations: one starting at 8:00 AM and ending at 12:00 PM, and the second starting at 1:00 PM and ending at 6:00 PM. This way, the day’s schedule will be properly configured with the lunch break, if applicable.
Conclusion
In this tutorial, you learned how to create hours for occasional dates. Now you can configure your specific periods in a practical way. Take the opportunity to visit our Blog and clear up other questions, or access our YouTube channel.
Mupi Systems offers a range of technological solutions for all types of businesses. Discover our platforms that bring innovation to the market.