How to Edit Your Plan Limits in eAgenda
In eAgenda, you have full flexibility to edit your plan limits according to your business growth. Quickly and easily, you can make changes directly from your account dashboard, without bureaucracy and with complete autonomy.
Whether you need to add new users, include additional accounts or units, or even expand the number of available appointments, the entire process is simple and intuitive. This way, your business is never limited and can easily adapt to new demands.
Adjusting your plan is a way to ensure that your operation remains organized, efficient, and prepared to serve more and more customers.
Below, we will walk you through the steps so you can manage your resources strategically and make the most of the platform’s features.
Step by Step: Edit Plan Limits
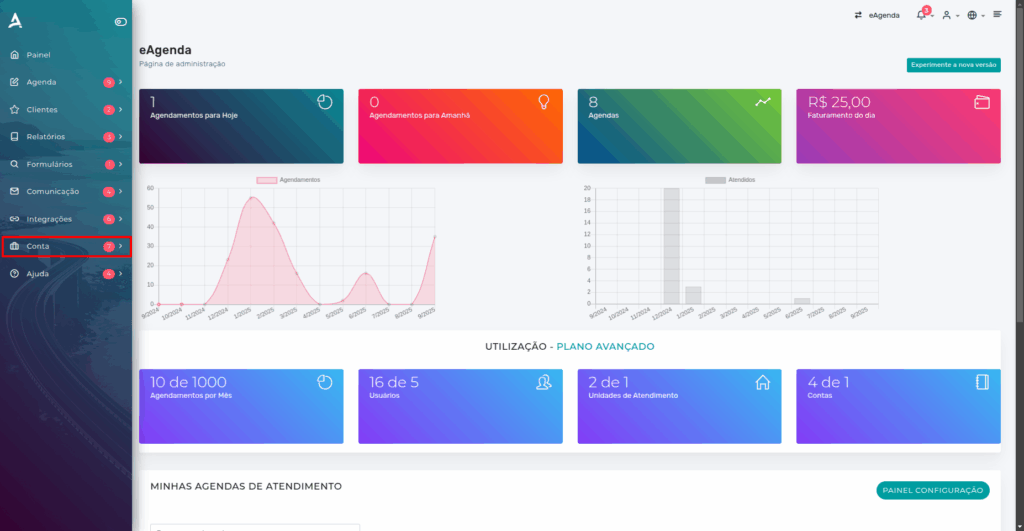
Step 1 – Access the side menu
On the main dashboard, locate the side menu and click on Account.
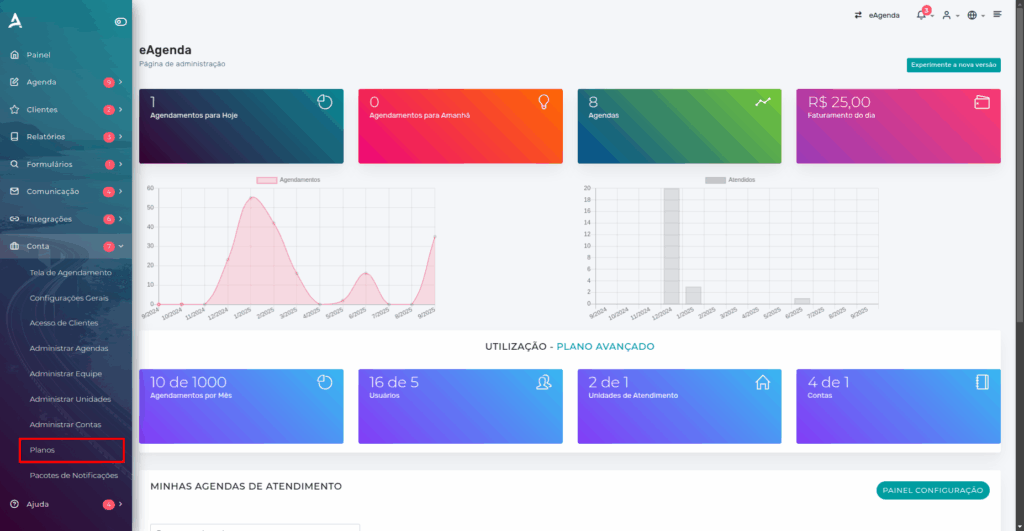
Step 2 – Go to the Plans section
Within the Account menu, click on Plans. You will be directed to the screen that displays all information about your current plan, including user, appointment, unit, and additional account limits. This is the screen where you can view and manage available resources before making any adjustments.
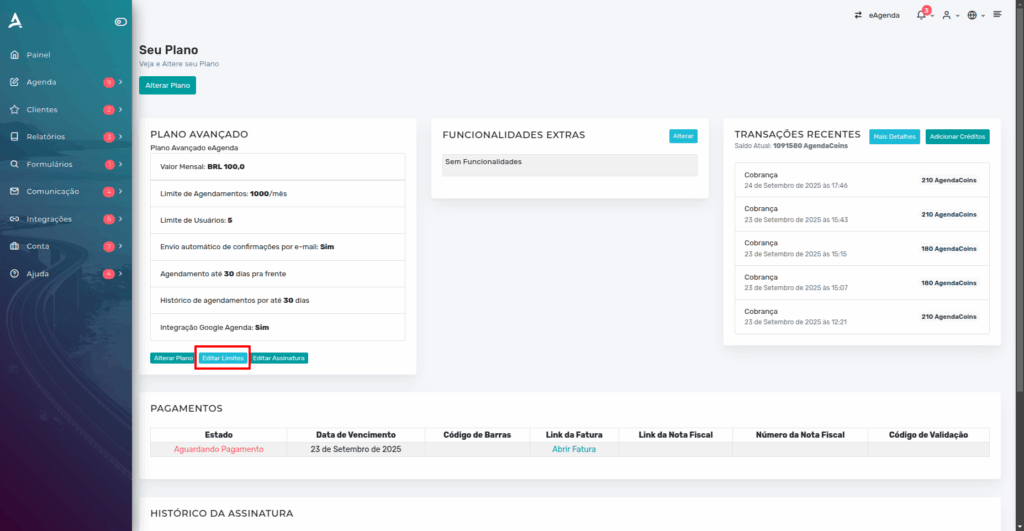
Step 3 – Click on Edit Limits
Go to your plan screen and locate the Edit Limits button. Clicking it will take you to the page where you can adjust all your plan resources, such as extra appointments, users, additional accounts, and units.
Step 4 – Configure the limits according to your needs
On the editing screen, you will be able to adjust all your plan resources quickly and easily. The available fields include:
- Extra Appointments: Enter the number of additional appointments you wish to include, ensuring your calendar keeps up with your business demand.
- Users: Add new users who will be able to access the account, facilitating the management of larger teams or new service areas.
- Additional Accounts (Subaccounts): Set the number of extra subaccounts needed to separate areas, teams, or branches within the same subscription.
- Units: Add new service units, allowing you to organize different locations or branches with independent and fully controlled calendars.
This way, you maintain full flexibility to adapt your plan to your business needs, ensuring efficiency and organization on all fronts.
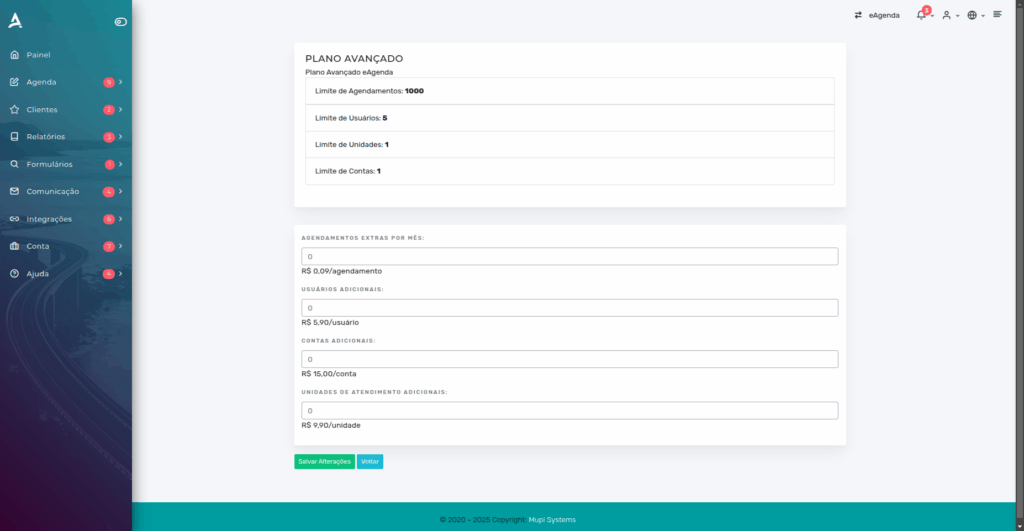
Step 5 – Save your changes
After filling in all the fields according to your needs, finalize by clicking the confirmation button to save your plan changes.
Conclusion
Done! Now you know how to edit your plan limits in eAgenda in a simple, fast, and fully practical way.
This feature offers the flexibility your business needs, allowing you to adjust resources such as users, service units, subaccounts, and even extra appointments, always according to your actual demand.
With this, you are not stuck with a rigid model: the plan follows the pace of your operation, ensuring the system continues to serve you well during periods of rapid growth as well as more stable phases.
Whenever necessary, simply repeat the process and customize your plan limits again — this way, your company maintains full control of its management and remains prepared to evolve along with the market and your customers.
Mupi Systems offers various technology solutions for all types of businesses. Explore our platforms that bring innovation to the market.
Contact Us or Learn More
WhatsApp: [Click here to send us a message] eAgenda Platform: [Explore the tool] Our Company: [Mupi Systems – Innovative Solutions] Email: [contato@mupisystems.com.br] Tutorials and Documentation: [Access our guides and tutorials]