How to Use Tags to Categorize Appointments
On the eAgenda and Minha Agenda Virtual platforms, you can use tags to efficiently categorize and organize your appointments. Tags are excellent tools for facilitating the management of each service, providing more clarity, agility, and control over the activities performed.
What are Tags?
In general terms, a Tag is a label or marker that allows you to classify and identify appointments according to specific criteria. The meaning of tags can vary depending on your context and needs. For example: if you manage a customer service calendar, you can create tags such as “consulting”, “technical support”, or “training” to quickly identify the topic or purpose of each appointment.
Additionally, each appointment can contain one or more tags, allowing for even more precise and personalized categorization.
Benefits of Using Tags
-
Enhanced organization: make it easier to visualize the types of services performed.
-
Strategic management: track the frequency of each service category.
-
Data-driven decision making: identify the main topics, issues, or demands faced by your team.
-
Operational efficiency: optimize time and resources by prioritizing categories with higher volume or urgency.
Following this logic, the use of tags not only improves day-to-day organization but also provides valuable statistics on the frequency of each tag’s usage. This way, you can analyze patterns, identify bottlenecks or trends, and consequently improve the performance of your service team.
Step by Step: How to Configure Tags
In the side menu, go to Calendar → Settings.

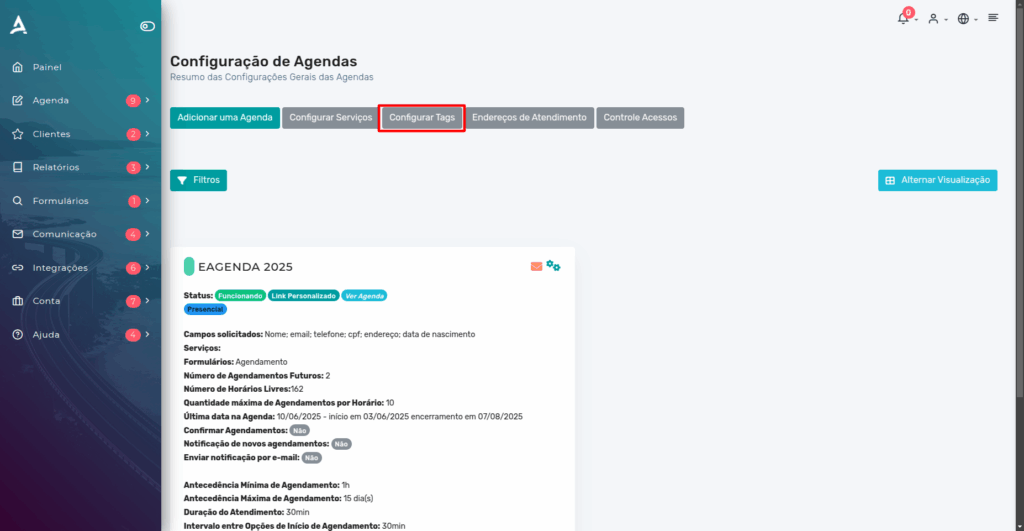
Then, you will be redirected to the Calendar Settings page. On this screen, locate the Configure Tags button and click on it.
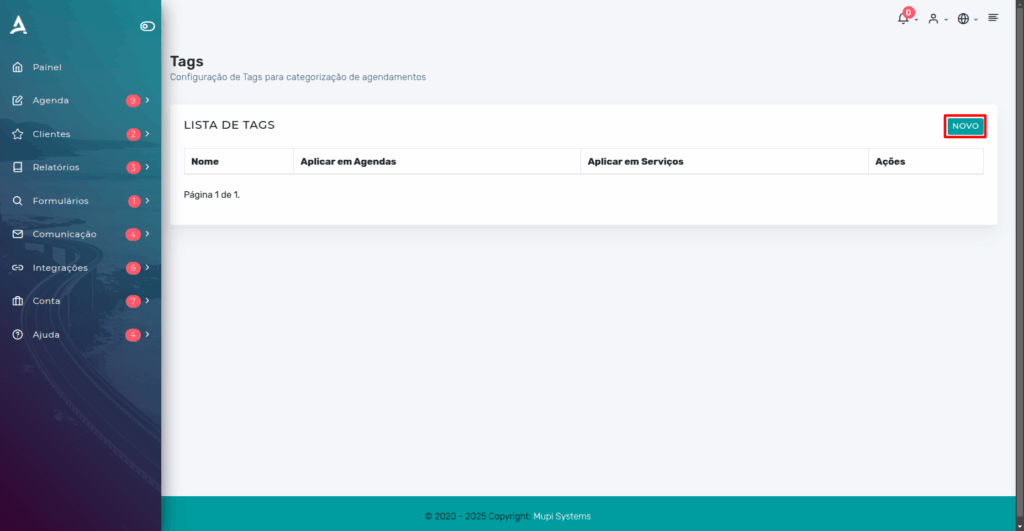
After the previous steps, you will be redirected to the Tags page. Click the “New” button.
Then, you can set the tag Name, the related Calendars, and the related Services.
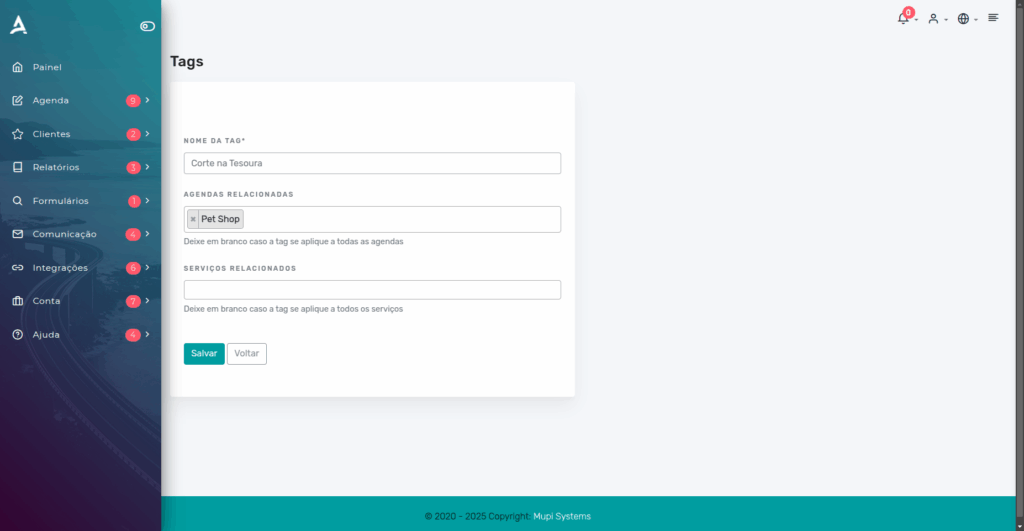
Done, just click Save.
How to Use Tags in Appointments
You can use tags in two ways:
- Editing an existing appointment: when accessing an already created appointment, you can add, change, or remove tags as needed, facilitating continuous updating and categorization of services.
- Adding an appointment via the system administrator: the administrator can also assign tags at the time of creating a new appointment, ensuring it is properly categorized from the start.
This way, tags can be applied flexibly, both in subsequent adjustments and at the time of appointment creation, adapting to your team’s routine and processes.
Using a Tag on an Existing Appointment
In the side menu, click on Calendar > List Appointments

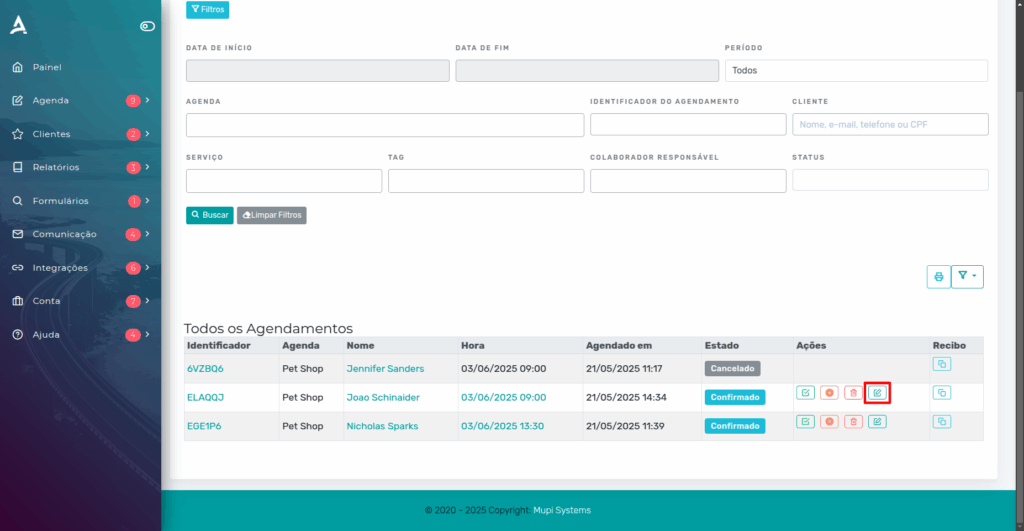
On the “List Appointments” page, locate the appointment you want to edit and click the “Edit” button. This action will allow you to access the full details of the selected appointment, enabling the addition, modification, or removal of tags as needed for your management.
Then, in the appointment editor, in the Tags field, select the desired Tags.

Done! Now just Save the changes.
Adding an Appointment and Assigning Tags
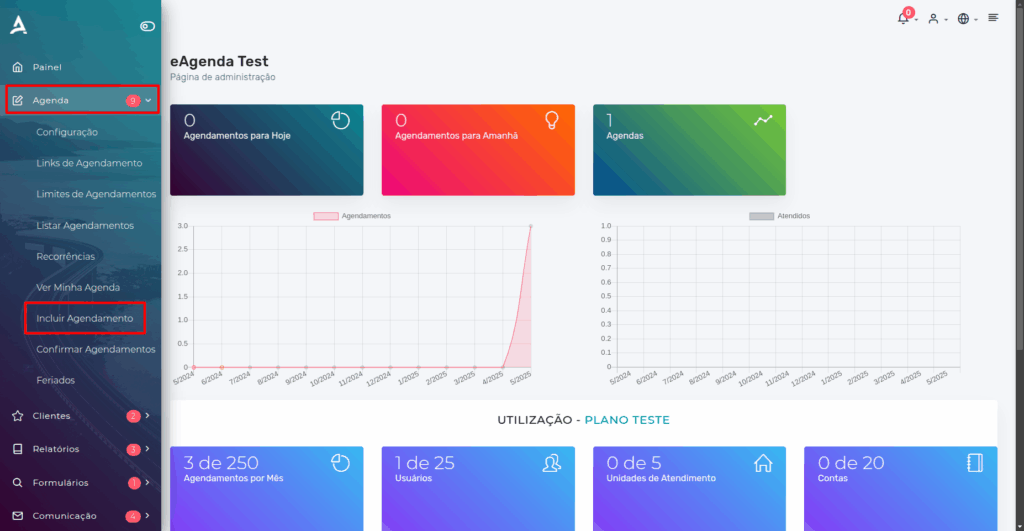
In the side menu, click on Calendar > Add Appointment.
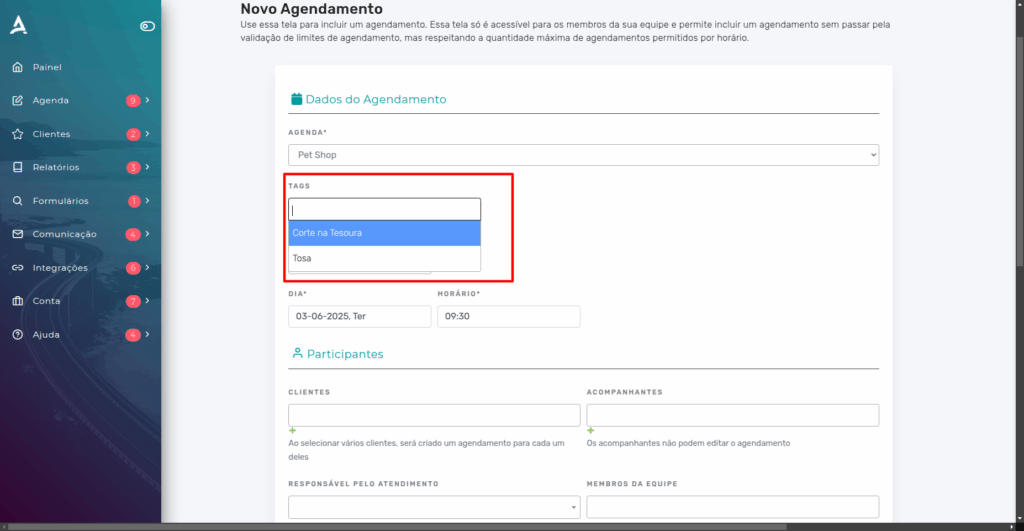
In the Tags field, select the desired Tags.
Fill in all the required fields with updated information and then click the “Save” button to confirm the changes.
If you want to deepen your knowledge on how to add an appointment, we recommend accessing our specific content on this topic, available here.
Conclusion
You learned how to use tags on the eAgenda and Minha Agenda Virtual platforms to efficiently organize and manage your appointments. You understood that tags are labels used to classify appointments according to specific criteria, such as: “consulting”, “technical support”, or “training”.
Take the opportunity to explore our Blog and get answers to other questions, or visit our YouTube channel.
Mupi Systems offers various technology solutions for all types of businesses. Explore our platforms that bring innovation to the market.