Scheduling Forms in eAgenda
The eAgenda and Minha Agenda Virtual platforms offer advanced customization resources through the creation of custom forms. These forms can be used in various ways:
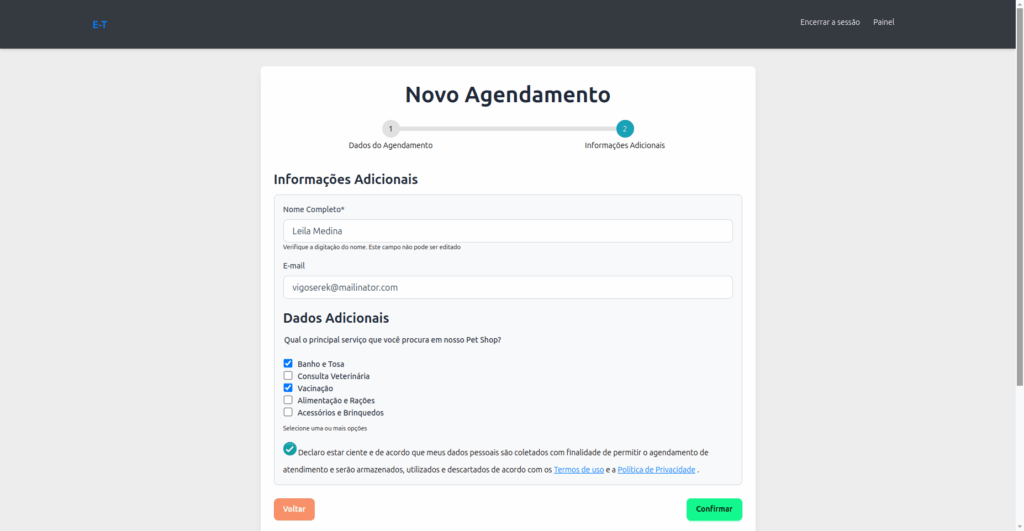
- To collect additional information at the time of scheduling, ensuring that all relevant data is recorded in a practical and organized manner.
- To conduct satisfaction surveys after service, allowing you to obtain valuable feedback that helps continuously improve the quality of services provided.
Forms can be used independently, as standalone data collection tools, or they can be integrated directly into calendars, optimizing the information flow and facilitating appointment management.
In this post, we will explore in detail the different types of forms that can be created, their main applications, and benefits. Additionally, we will present a practical step-by-step guide so you know exactly how to configure this feature and make the most of it within your scheduling routines.
Types of Forms
On our platforms, you can create the following types of forms:
- Scheduling Form: Displayed on the scheduling screen, with required or optional information that must be provided to complete the appointment;
- Pre-Service Form: Sent after scheduling and must be filled in before the service;
- Post-Service Form: Ideal for service satisfaction surveys;
- General: You can create forms for various purposes, without linking to your calendars. E.g., complaint forms and opinion surveys.
Step by Step: How to Configure Forms
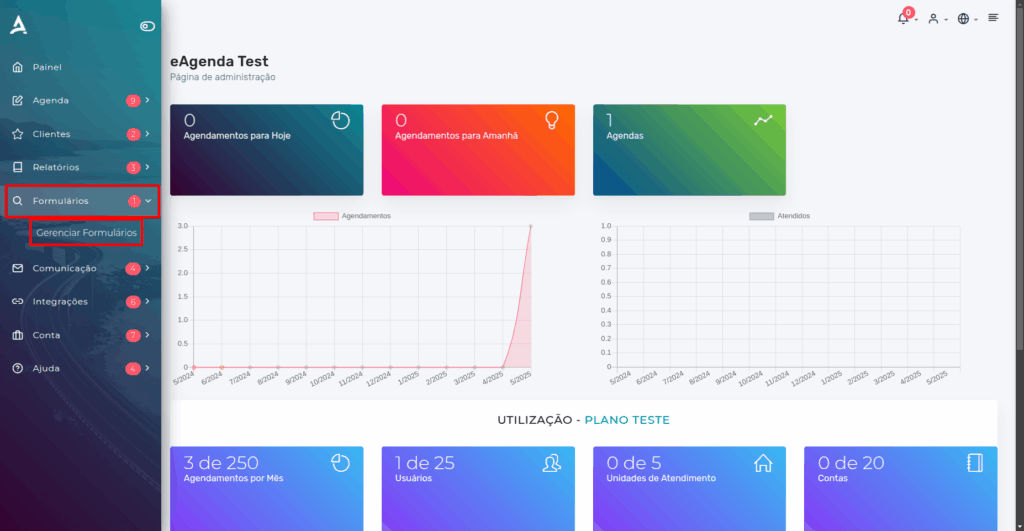
In the side menu, go to Forms → Manage Forms.
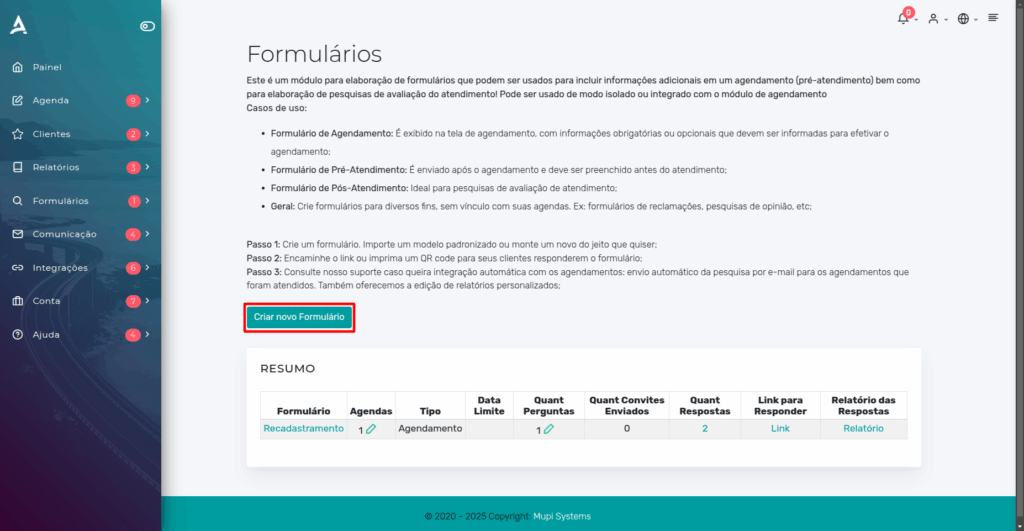
On the next Forms page, click the “Create New Form” button. If you want to edit or delete an existing form, simply click on the corresponding name.
Then, on the “New Form” page, fill in the fields with the necessary information to configure the form.
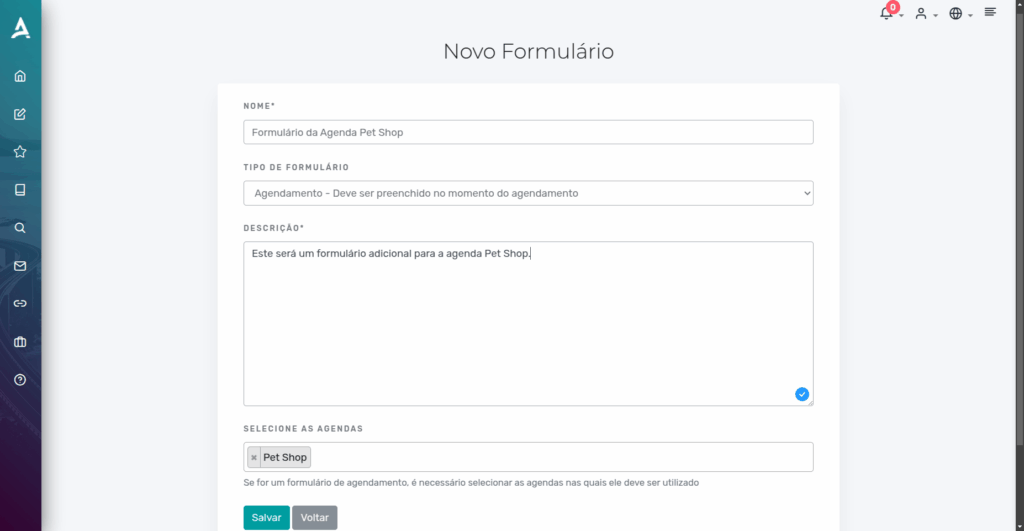
Done! Now just Save. Next, you will need to create the questions that will compose this form.
Configuring a New Question for the Form
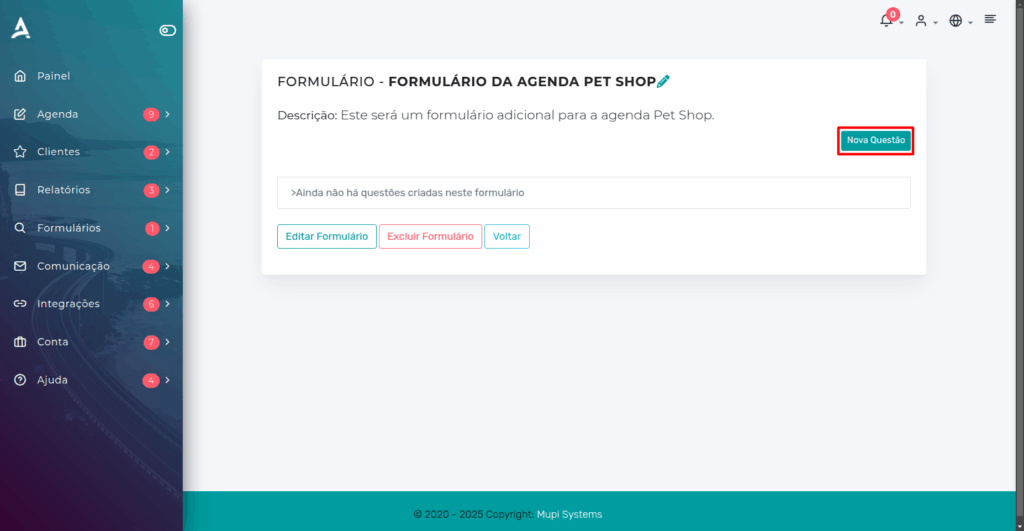
Locate and click the New Question button.
Then, fill in the fields according to your needs.
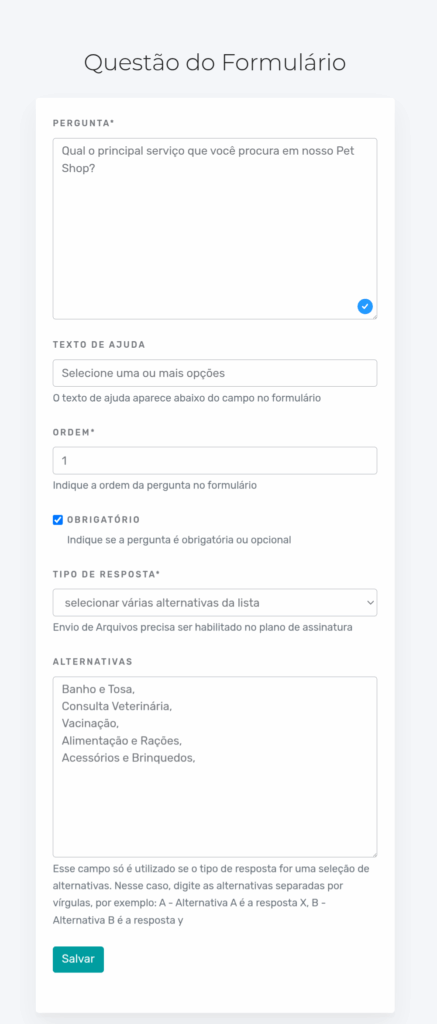
After filling in the required fields, click Save.
IMPORTANT: If you want to create questions with option selection, make sure to separate the options with commas.
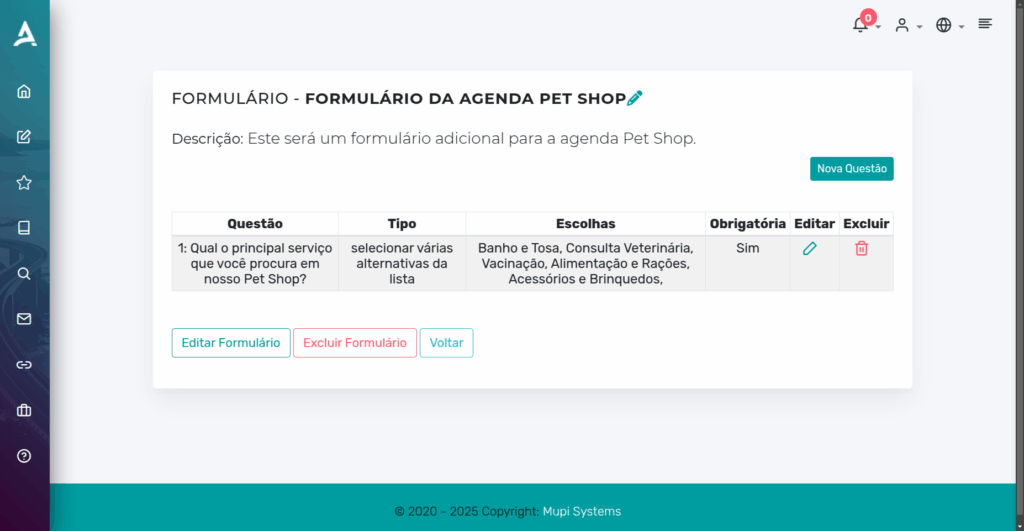
Done! If you want to create more questions, simply repeat the previous process by clicking New Question.
Remember that for the form to work correctly, it is essential to choose the appropriate “Response Type” for each question. Our platforms offer a wide variety of options, including:
- Free text response
- Single or multiple option selection
- Quantity input
- File upload
IMPORTANT: File upload requires an additional feature subscription. Prices vary depending on the chosen plan.
You can check the pricing table for eAgenda by clicking [here] and for Minha Agenda Virtual by clicking [here].
It is worth noting that uploaded files are stored on our platform exclusively to assist with the scheduled service, without the need for prolonged storage. If you need files to be kept for a longer period, please contact our support team so we can evaluate the best solution for you.
Conclusion
Note that your configured question will now be listed in the Additional Data section at the time of scheduling. You can configure forms however you want, in order to meet the needs of your business. We hope this tutorial has been helpful and we are available to answer any questions!
In this content, you learned how to create and configure forms on the eAgenda and Minha Agenda Virtual platforms. This feature allows you to collect additional information at the time of scheduling, before or after service, as well as create general forms such as surveys and complaints. We also saw that the creation process is simple and customizable, with different response types, including the file upload option (additional feature). Take the opportunity to explore this feature and make your scheduling management even more efficient. For more tips, visit our Blog or access our YouTube channel.
If you prefer, you can follow the video tutorial we have provided below.
Mupi Systems offers various technology solutions for all types of businesses. Explore our platforms that bring innovation to the market.