How to Configure Time Slot Fitting in eAgenda
The eAgenda platform offers various features designed to optimize the management of your virtual calendar. One of them is the “Time Slot Fitting” resource, ideal for situations where the calendar is completely full but you still need to include a new appointment.
In this tutorial, you will learn step by step how to fit in an appointment simply and quickly.
Step by Step: How to Fit in an Appointment
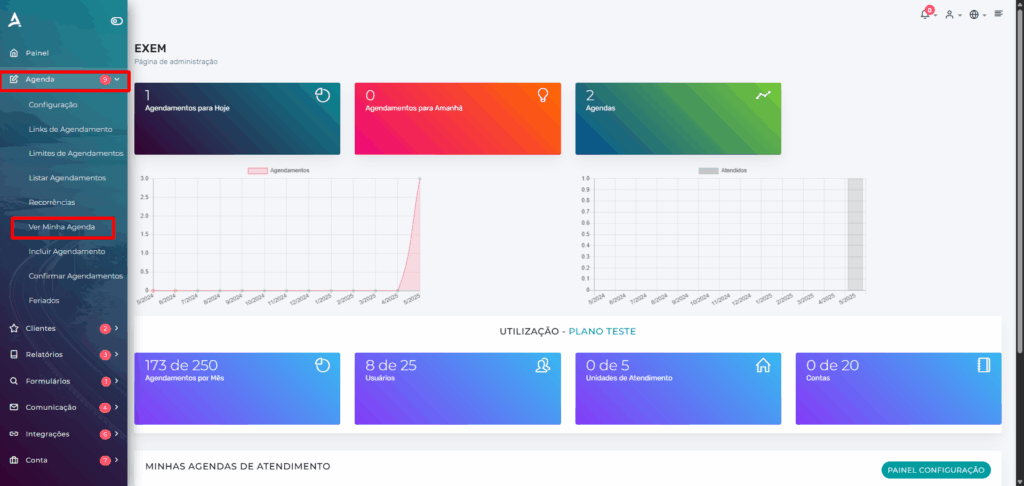
Open the Side Menu Click on Calendar → View my calendar
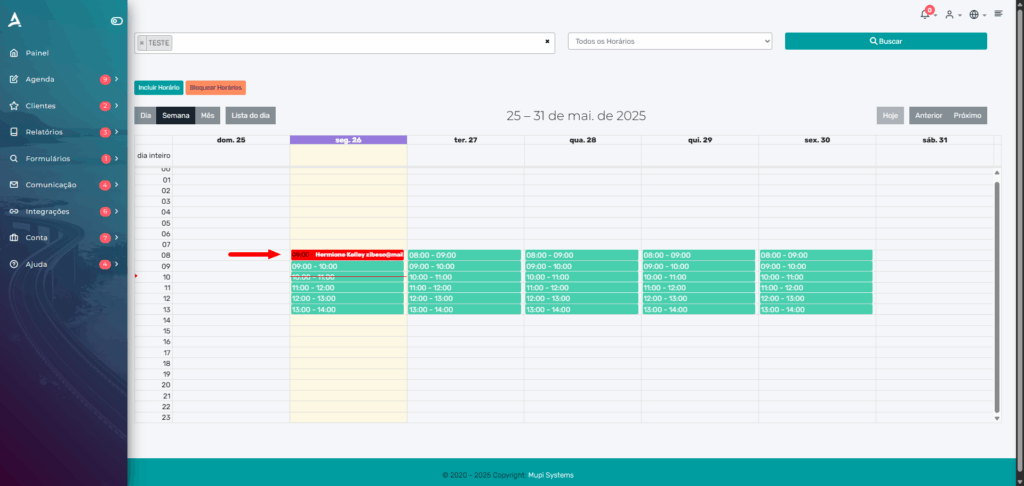
Choose the desired time slot Click on the already filled appointment block where you want to fit in the new one. This will open the editing options for the appointment.
Tip: Time slots marked in red indicate that the appointment capacity has been reached. Even so, you can still insert a new appointment using the fitting feature.
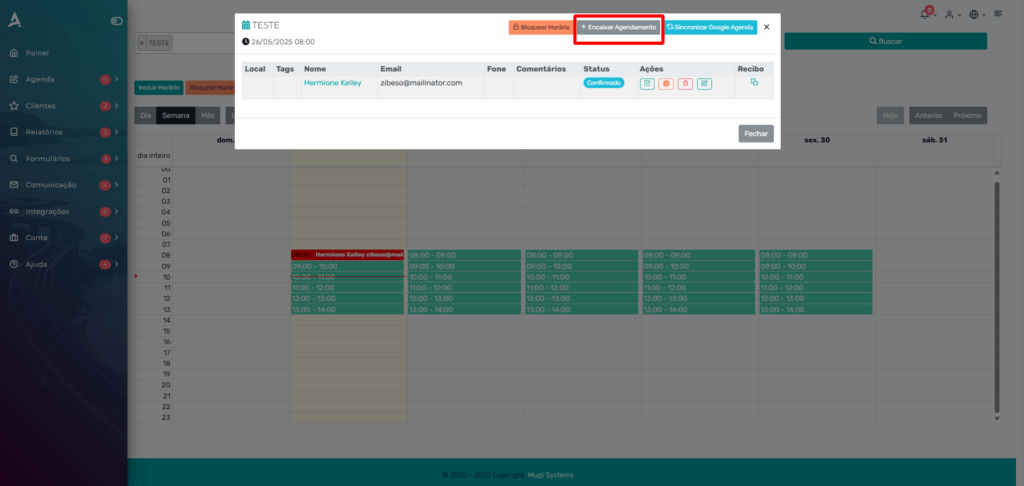
Select “Fit in appointment” When you click, you will be directed to the Add Appointment screen.
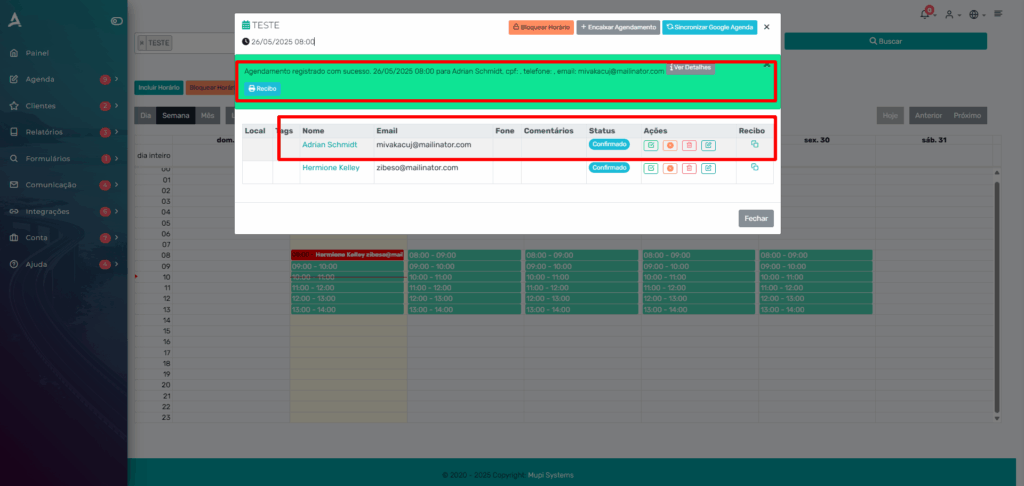
Fill in the new appointment details Complete all the required fields and confirm.
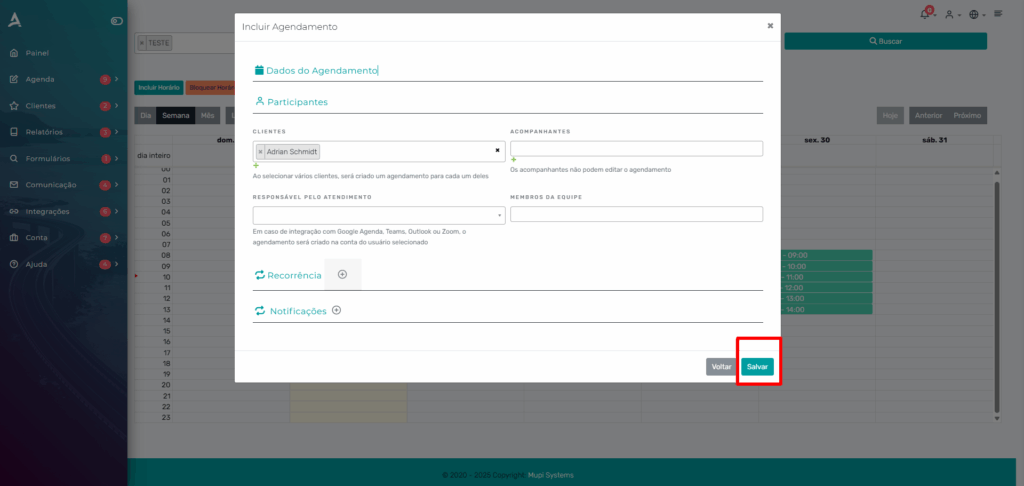
In the example below, the new appointment will be fitted in at 8:00 AM, in addition to the existing appointment for that time.
This feature is ideal for specific situations where you need to make your calendar flexible to serve more than one customer at the same time slot. Use it moderately to maintain organization and quality of service.
Take the opportunity to explore our Blog and get your questions answered.
Mupi Systems offers various technology solutions for all types of businesses. Explore our platforms that bring innovation to the market.